Testing is the essential part of the software development process and Cover User Scenarios.
Developers take care of their unit tests and perhaps, some wider coverage when they deliver a finished module. When developer tests the software he only tests scenarios for which he have done development.
In manual testing, since there are usually only humans involved, there will without doubt be discrepancies in the burden that test are conducted. There’s is always the trade-off between whether or not to conduct a full test scenarios for every delivery. In most scenarios tests are performed to areas of application, those are relevant for the current release. Like why should you repeat the purchasing scenarios if you only made a change to the sales process for example?
Automated testing brings a level of insistency and repeatability to testing that is impossible to achieve with just humans. By using a tool that facilitates automated testing, you can run as many test, as many times, as you want with a guarantee that each and every test will run exactly the same way as the first time. You can actually prove that a change in the sales process will not affect the purchasing process.
The key to successful automated testing is that you can link test scenarios to user scenarios. To make your development process itself test-based, by writing proper test at the start of the development process will give you clear and concrete requirements that the software has to meet.
Repeatability of running test scenarios is another key ingredient of automated testing. Manual testing can be very tedious task that can cause a human tester to lose focus. Added project pressure can add to the temptation for tester to skip the unimportant pieces of the test scenarios. How many times do you have to make sure that you can’t enter text string in an amount field for example?
Automated testing is a predefined set of Instructions that always run, no matter what time, no matter how eager the project manager wants the results, no matter how hungry you are, the test scenario is defined and it will execute every instruction every time that the test runs.
It will run exactly the same manner each and every time. You can spin as many sessions you need and simulate real load test. You can potentially scale this up to hundreds or even thousands of users at the same time and really test the limits of your software’s capabilities. Even in larger organizations it will never be possible in a manual test situation.
Manual testing is great to prove that a new piece of software meets the requirements. But what is not always clear is whether a new change in the software has had any adverse effects on existing functionality in other areas. Whereas in case of automated testing provides the capability to prove that all test scenarios can still give you the same test results over time, whenever you make any changes to any part of the software. Since you can schedule automated tests, you can run a full system test overnight or weekend, when you come back at your desk in the next morning you can look at the outcome of the latest test run and focus on just the ones that failed.
Test that are included in the standard business central test toolkit, cover the entire application. You can run the full length of thousands of those test in a matter of hours. So, combined with a build script, you can automate the creation of a new tenant, implement your compiled app, run selected tests and then, evaluate the results in a fraction of the time, which it would take a team of manual testers to do the same thing in hours. Automated testing provides the capability to run a full test set every single day or multiple times a day. If you have that capability, why not use it?
You can organize your development process to include daily build process and include a full sweep of the entire set of tests, and almost guarantee a 100 percent success when you are ready to deliver your software.
Those working on AppSource apps, will not have a choice on matter. Automated testing is mandatory for your app source submission.
Conclusion best way to do testing will be take a fresh demo database of BC, install your app and test the user scenario. If you need to prepare any data is necessary to successfully complete the user scenarios or the test scenarios, the creation of that data should be part of the installation process of your app, and or your test app. Most important feature should be included is the ability to run them in a non-super role, it should not be mandatory to have super rights in order to use your app. Make sure you include the test for non-super users as well.
Oh!! Today lots of lecture. Let’s see how we can implement this, although writing test scripts is not a easy task, require lots of efforts to cover all scenarios and knowing the system well in advance, with clear set of inputs and outputs, else even you pass test scenario chances to fail in real word cannot be avoided.
Below are the steps we follow to create an automated test script. Below is not the full and final, it is just an idea how we can implement this, rest you have to use your experience and skills to complete as per your requirement and project need.
Not compulsory but it will be better if we can use fresh database for this task. We will have only our Extension on which we are going to run this Automated Test and the Extension which we are creating in this post for Auto Test.
Step – 1 : Nav/BC Preparation
If not already imported you need to import Set of objects to enable automated testing. You can find them on installation disk under TestToolKit folder.

If creating a Docker Container use option –includeTestToolkit in the new NavContainer Cmdlet.
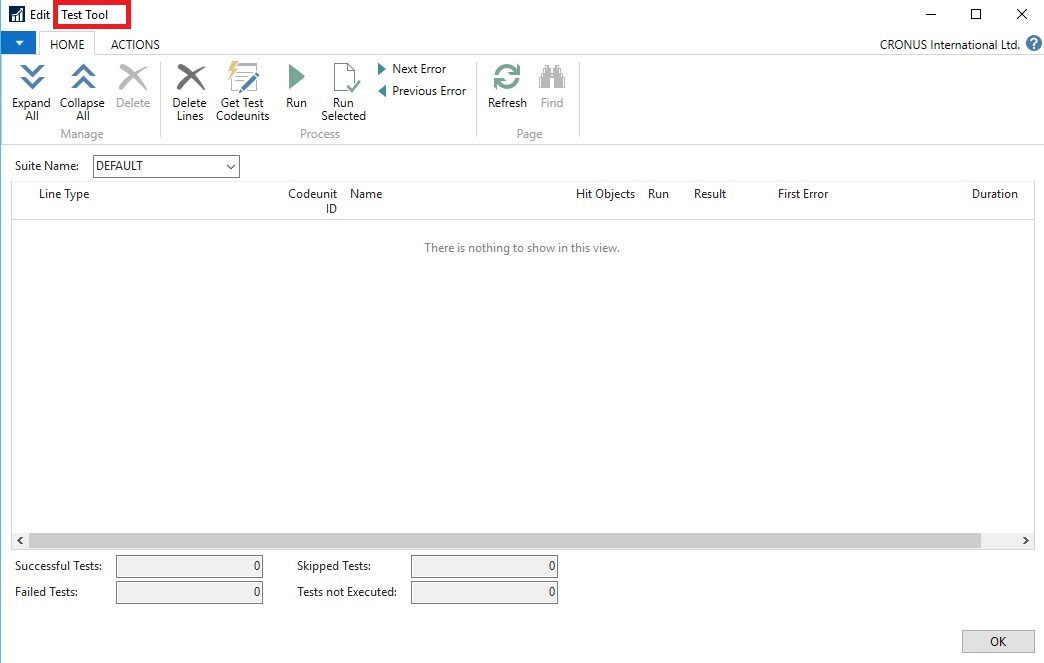
Once you are done now you can run your Test Tool

Hold on, we will come to this later in below post.
Step – 2 : VS Code Project Preparation
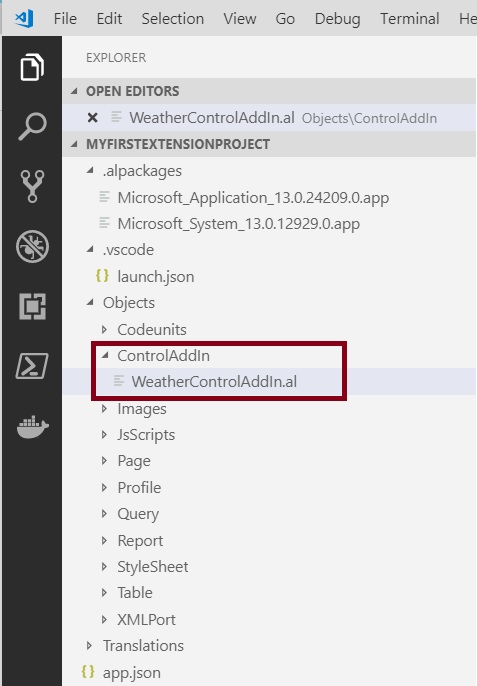
Create a New project, and add Folder Structure to arrange your files.
You can find steps in this post : Bare Minimum Steps to Start with fresh Extension Project for Business Central
We need to Specify test target as a dependency. For this it is compulsory to have the apps symbols file to make this work. Install your Extension on this database if not already deployed.
We need to import symbols for the Test Framework as well. So need to specify ‘test’ settings to the app.json file of this project. Specify minimum supported value e.g. 12.0.0.0
Once these two settings are done, now when you hit Download Symbols it will include the Symbols for your Extension and Test Toolkit Objects.

Now you can see 2 additional package symbol files are downloaded.
- KSD Consultancy_MyFirstExtensionProject_1.0.0.0.app
- Microsoft_Test_13.0.24209.0.app
And 2 std. symbol file that gets included when you create any new Extension Project.
Step – 3 : Writing Test Codeunits
We will create a codeunit of Subtype = ‘Test’
Test procedures are decorated with [Test] attribute
Your OnRun will execute first, followed by other all test procedures.
You can use [TransactionModel] attribute to specify each test procedure is in a separate database transaction.
The output will be Success or Failure.
Failure is any error that is raised by the test code or from the code which is being tested. In either case Other Test procedures will still continue.
Other Features are Test Pages and UI Handlers, we will discuss on same in some other similar post.
AssertError statement is like if I do this error should come, it happens then your test is Success. In this case Failure is actually Success as you knowingly created error.
As I told earlier also this is very complicated area, to write Test Scripts, but if you start practicing from small stuffs eventually you will learn and will able to write a good Test Scripts. You can check out other standard Test Codeunits and update your knowledge how you can write your own Test Scripts.
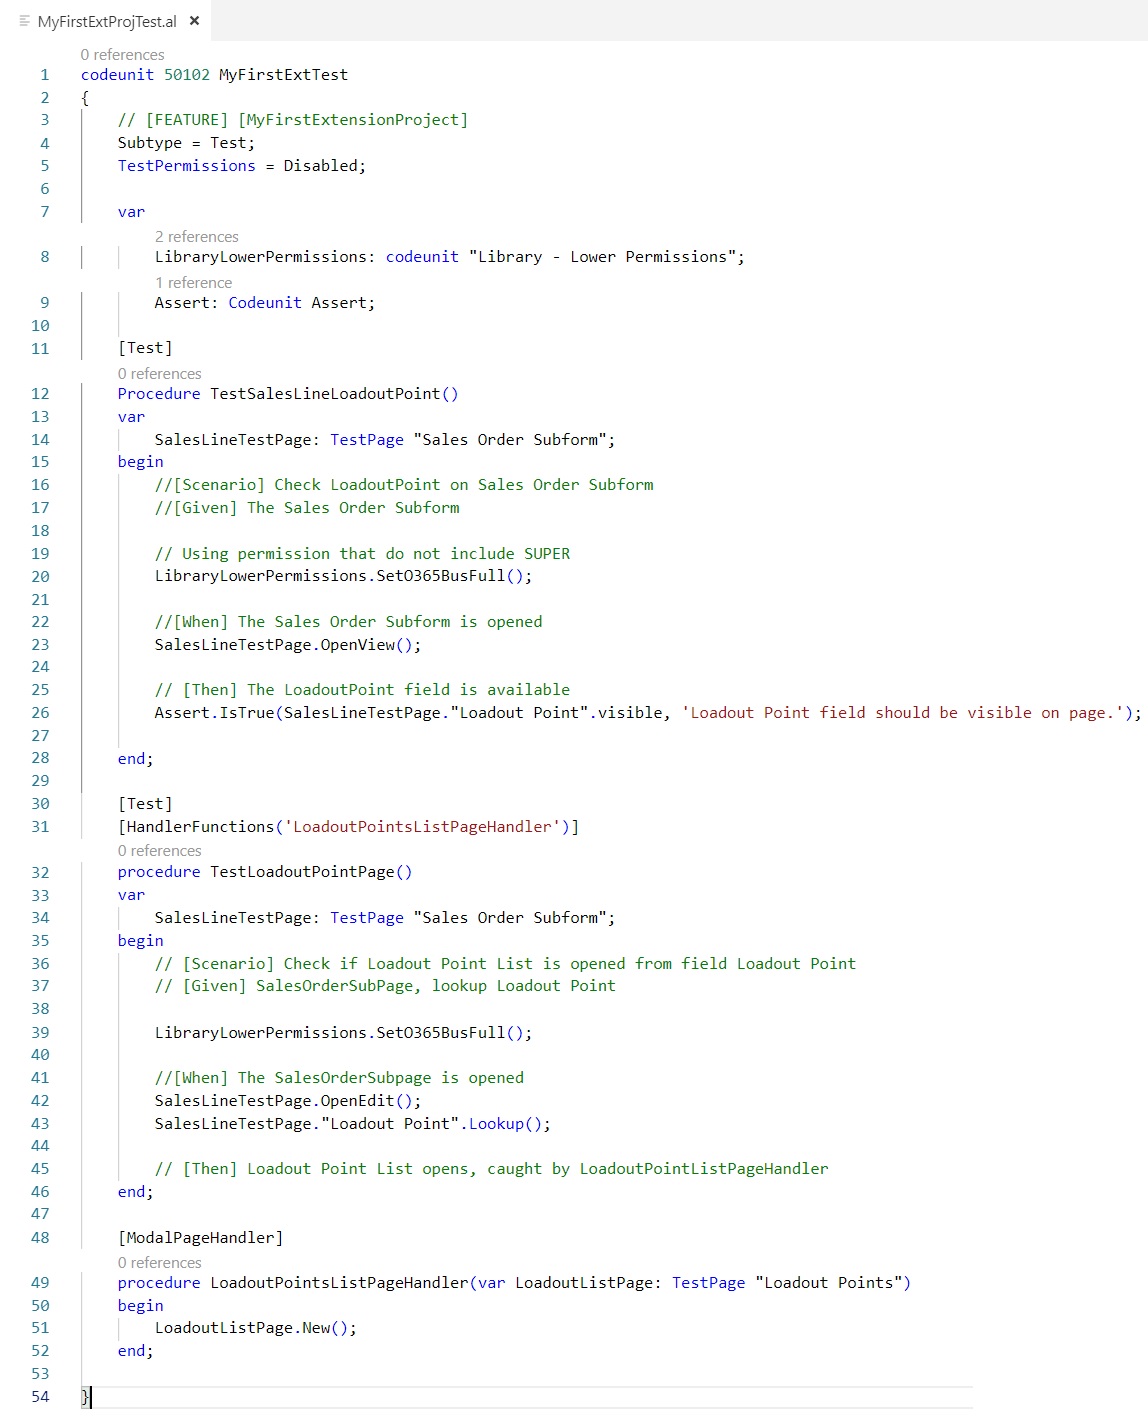
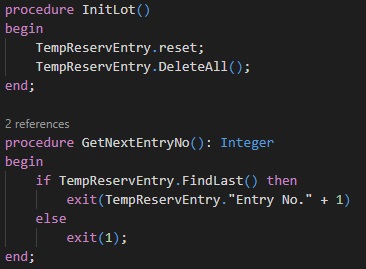
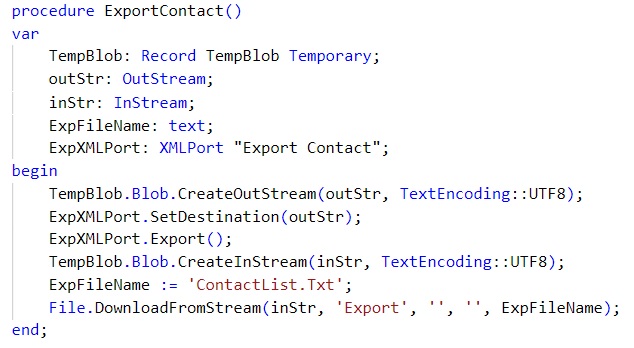
My sample Test Codeunit looks something like below, it is just for idea in real scenario there should be lots more.
Step – 4 : Deploy & Run the Test App
Publish your Test App.
Go to Extension Management

You will find 2 Extension, The Initial Extension which we created in earlier posts and the Extension we just deployed.
Now open the Test Toolkit Page – 130401
Click on Get Test Codeunits function then Select Test Codeunits

Now Select the Codeunit we just created.

You can select other Codeunits as per the requirement, in my case I am just going to select my Codeunit which we created in this post.
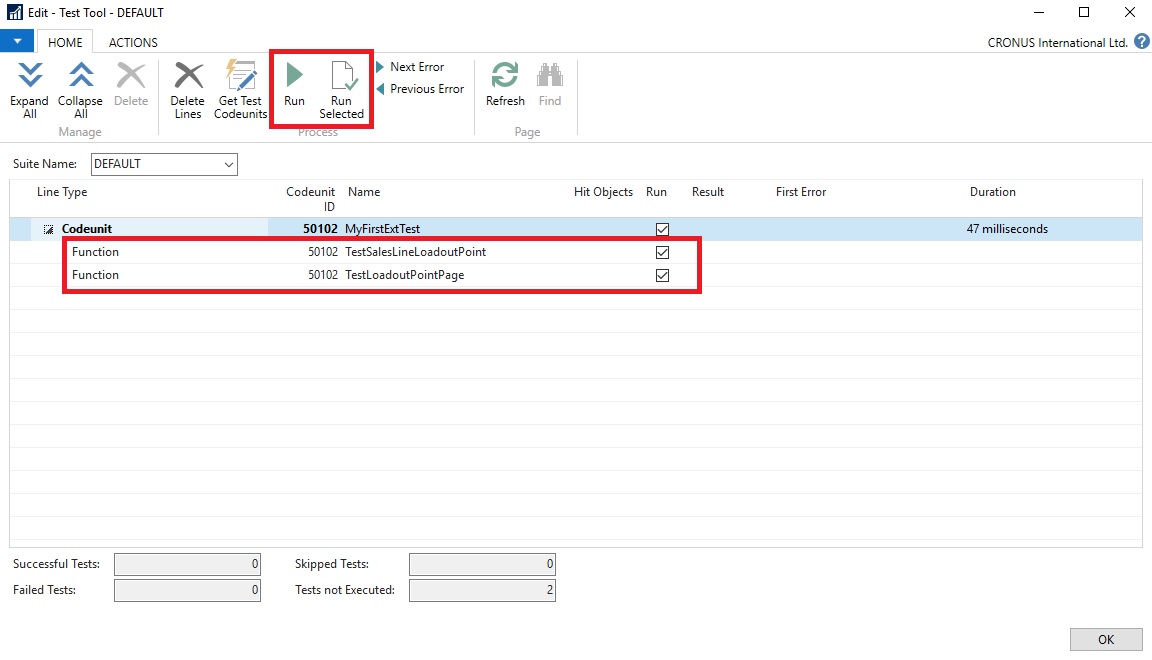
This will list all the functions available in the Test Codeunit.
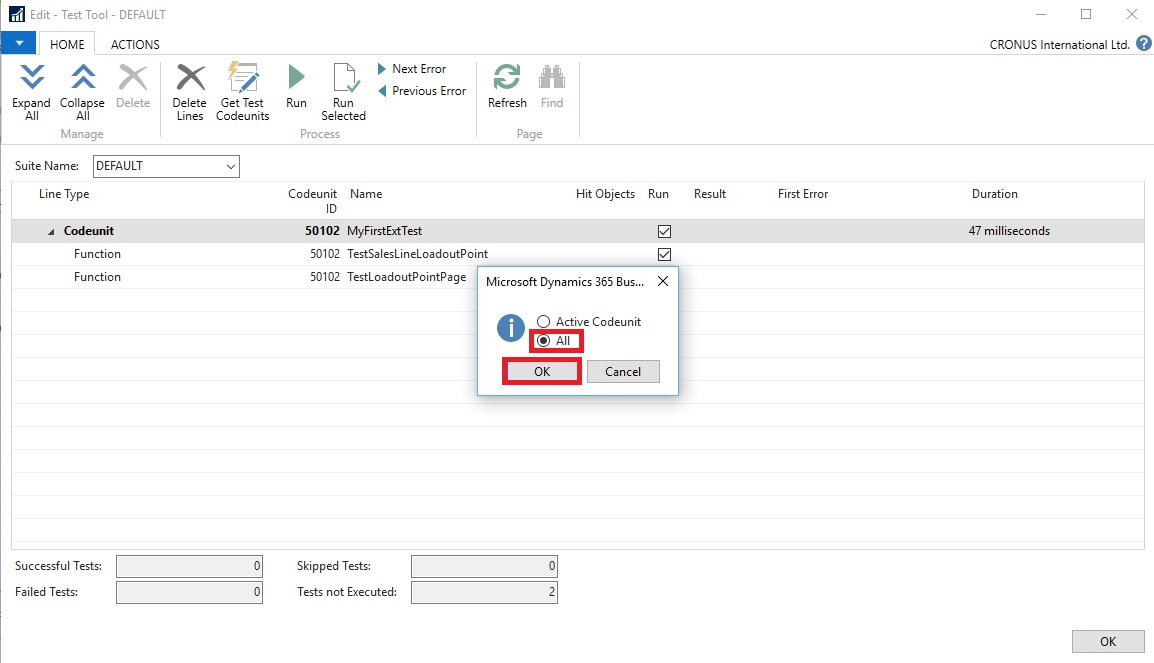
Now you can select Run all or Run Selected. To test your App, I will select Run All.
Here is the final output of test result
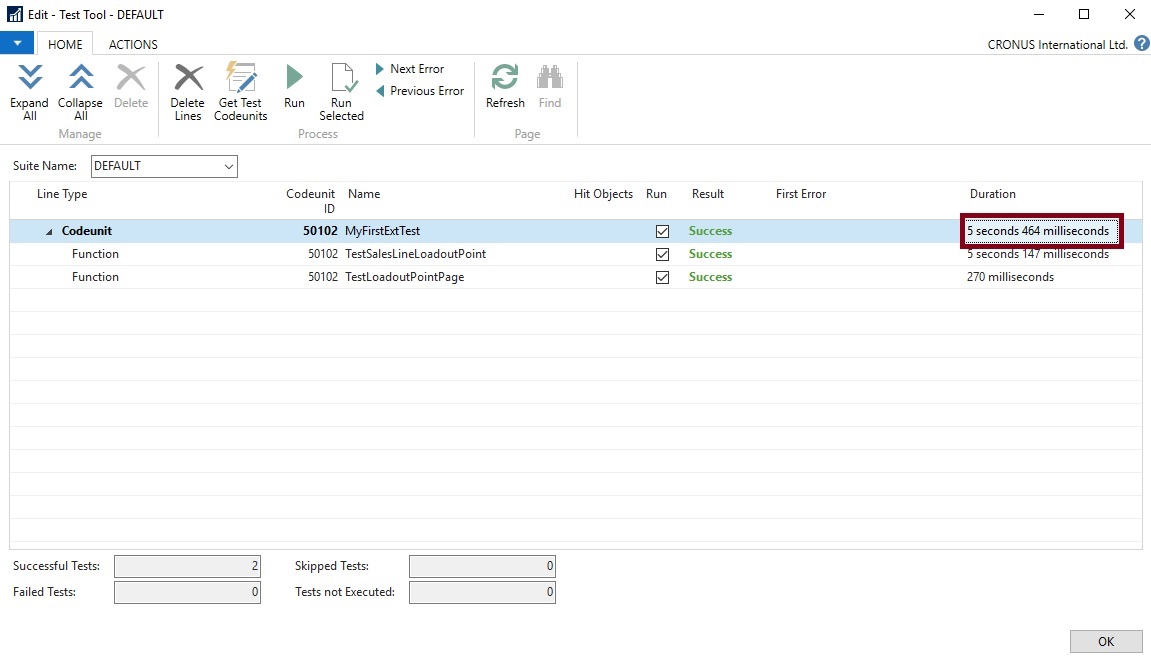
Hope you will agree the test we performed, same if done manually no one can test the same in 6 seconds as this did. And we can perform as many times, and any time.
Once your Test Codeunit in place whenever you make changes to app, you can just run the test and verify that any changes you made have not impacted the existing functionality in any manner.
To save the time in testing, you have to pay in other way in creating the test codeunit as it is not that easy to cover every user scenario in your test codeunit and will require lots of efforts.
But when you are working for App Source you have no choice, you will have to do it.
Today the post got bit longer, but this topic is very complicated and require explanation. Hope you got the starting point from this and will put your efforts to reach to your required conclusion, take help of existing codeunit, nothing will be better than those to learn how Microsoft themselves implements it.
See you again with some more topics, and if get some extra time will try to add more to this post as a second part to this post. Fact is one post is not sufficient for such a huge topic.
Till then keep exploring and learning and take care of yourself.
28.629409
77.432905


You must be logged in to post a comment.