
Step-1 Create Project Folder
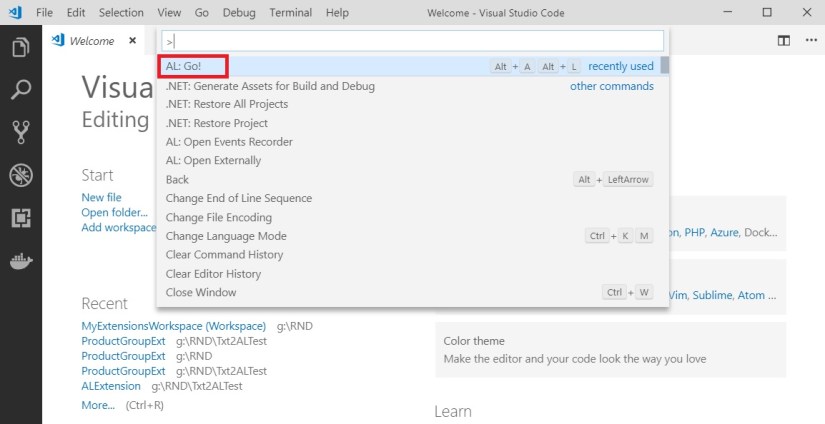
To create a Project Folder press <Ctrl> + <Shift> + <P> to open command Palette or alternatively you can choose from Menu View -> Command Palette.
Now Select Al: Go!
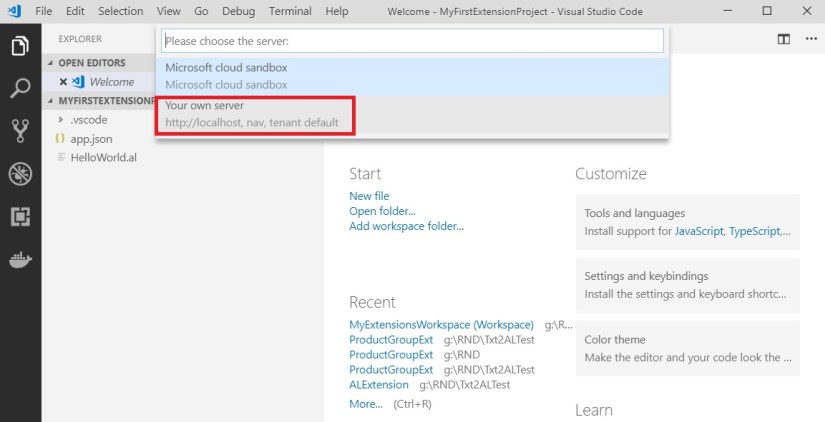
Enter your Forder & Project Folder Name and press <Enter>

Wait for few seconds and choose “Your Own Server” option.
Step -2 Complete your Extension settings & Cleanup
You will land to your project Folder, where few files are created for you by default.

Now we will set our Server connection related changes and remove HelloWorld.al File.
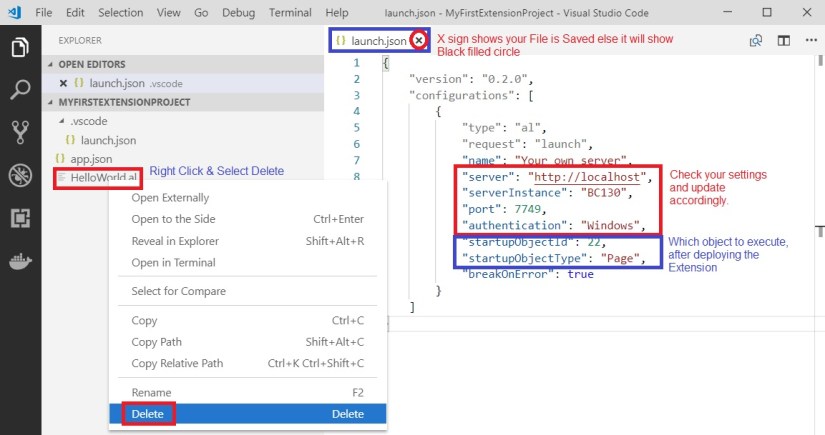
Next we will check our Extension related settings.

Next our Task is to Download Symbols. If Symbol files are missing you will not be able to compile your project. Also any objects referenced for extension will say invalid object.
To Download Symbols again Go to you command pallet out of any 2 methods explained above you are comfortable with.
Step – 3 Download Symbols

Wait for few seconds, if settings of server in launch.json file is correct it should download your symbols.
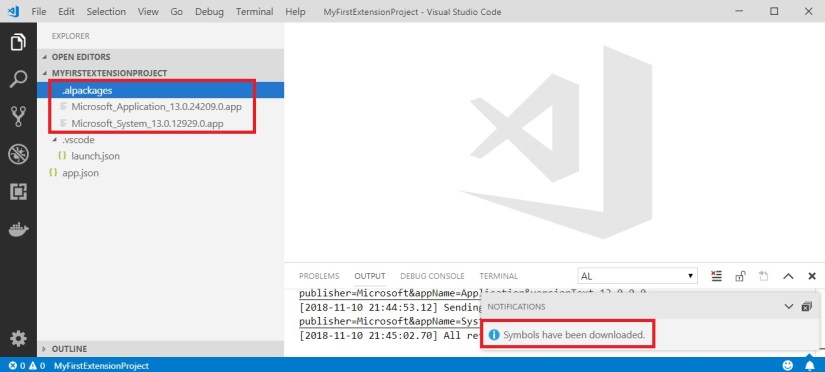
You will see notification in right bottom corner, else can check the errors in Output Tab of Debugger Window.
You will notice new folder [.alpackages] with 2 files are created. These file contains the definition of your Navision objects.
Next I will prepare my Project Folder for getting started for my Extension development.
Step -4 Prepare your Project Folders to arrange you’re working Files.

Now my Project Folder is ready to start working with Extensions.
We will start creating Files/Objects in our next post.

2 thoughts on “Bare Minimum Steps to Start with fresh Extension Project for Business Central”
Comments are closed.