The issue with customizations is that they often introduce challenges when upgrading. It’s hard to upgrade a solution from one version to the next when changes have been made to the underlying solution. Extensions, and the new version – Extensions 2.0 – solves this problem.
Instead of defining customizations in the original source code, extensions are written alongside the solution source, where the integration with the source is handled with events. An extension can add new objects and extend existing objects that are present in the solution. The extension code is packaged in a file, which you can deploy to your solution. This allows us to upgrade the underlying solution and, as long as the events remain, the extension will behave in the same way from version to version.
To help you developing solutions for this new programming pattern, you can use the new developer tools to build, test, and deploy extensions.
In app designer
In the client, you can switch to the in app designer mode that provides a way for you change the look and feel of the client easily and quickly. In short, the in-client designer lets you define what elements (such as fields, groups) appear on a page and how they are arranged. The in-client designer also provides an interactive way to create extensions based on changes you make in the client. Some of the features include:
- Adding a field from the source table to a page.
- Moving a field to another place on a page.
- Removing a field from a page.
- Previewing your design in desktop, tablet, and phone clients.
- Saving the changes for the tenant or saving as an extension package file in Visual Studio Code.
- Changing the caption of a fields on the page.
- Adding, moving, renaming, and removing an action.
- Adding, moving, and removing page parts.
- Adding new pages.
Personal and organizational design changes
As an end user, changes can be applied so that only the user who made the changes will see them. This enables users to personalize the pages for their role. Examples of personalization could include moving important fields to a more prominent position on the page, or renaming a date field so that it is clearer which field is the ship date versus the expected arrival date. Alternatively, as an administrator, changes can be made globally, so that everyone in the organization can see them.
Business consultants can also access the same tools to help customers make changes to their solution, resulting in improvements in productivity for all users. For example, they could add new actions to run custom reports, or introduce entirely new pages or page parts.
Working with the In App Designer
To turn on the In-App Designer, start the client as normal, and then simply choose the In-App designer icon in the ribbon on any page in the client.

The Design mode bar appears at the top page, indicating that the in-client designer is active. You can now open any page, and start making changes.

Choose More to display additional design options, such as adding a field, creating a new field, and changing the preview to another client type.

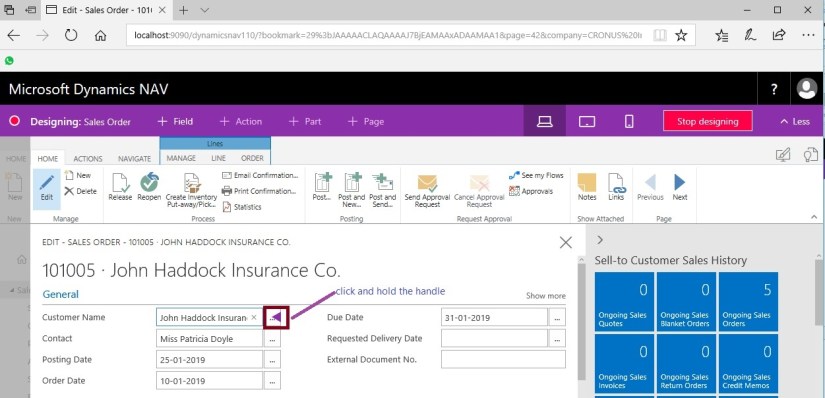
To move a field, click and hold the handle in the field to drag and drop it from its current position to the new location, as indicated by the horizontal line.

To remove a field, click the field’s handle, and then choose Remove.
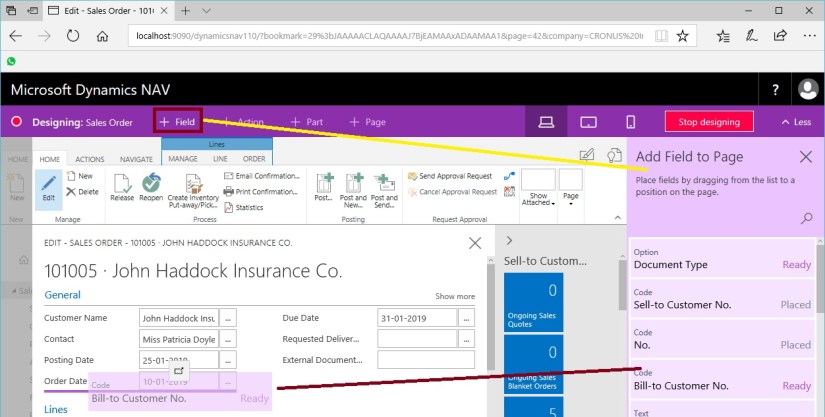
To add a field, choose the Field button, and then drag and drop a field from the list that appears to the desired location.

To preview in another client type, simply choose one of the preview buttons.
When you are finished making changes, choose Stop Designing. You then have the option to save the changes to the tenant for all users, or to save the changes to a file that you can work on later in Visual Studio Code.

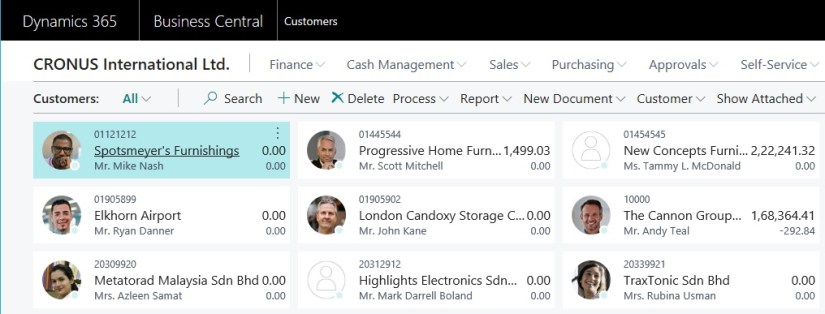
You can see that Extension is deployed on your solution, check as below.

Hope you will enjoy using this new feature of development.
Will come with more details as I proceed.


You must be logged in to post a comment.