

This is second post in this series, if you wish to see previous post, you can access here.
Today in this post I will discuss about first part, how to create Azure Functions.
Before we start, you need some installation to support creating Azure Functions. Use below Links to download & install these packages on the system, where you wish to write, compile & test the Azure functions.
Installation Links:
https://docs.npmjs.com/downloading-and-installing-node-js-and-npm
https://nodejs.org/en/download/
https://dotnet.microsoft.com/download/dotnet/thank-you/sdk-3.1.414-windows-x64-installer
Obviously, you must have an active Azure subscription, to create an Azure Functions App. If you don’t have, you can create an account that gives you a credit to explore Microsoft Azure for 30 days.
Head to Azure portal and sign in with your account.

Create New Function App.

Select your Azure subscription and a resource group or create a new one. Provide a name for your function app. This name will be the prefix for the URL.

You can select the .NET Core runtime and the region that matches your location. Select the Review + create button.
Now, you can create new functions. A function app can contain multiple functions. Each function will be available on:
Before you start to create Function, you need to Install dependencies:
- You should install Visual Studio Code
- You should also install Node.JS
- Run the following command to install the Core Tools package:
npm install -g azure-functions-core-tools@3 –unsafe-perm true
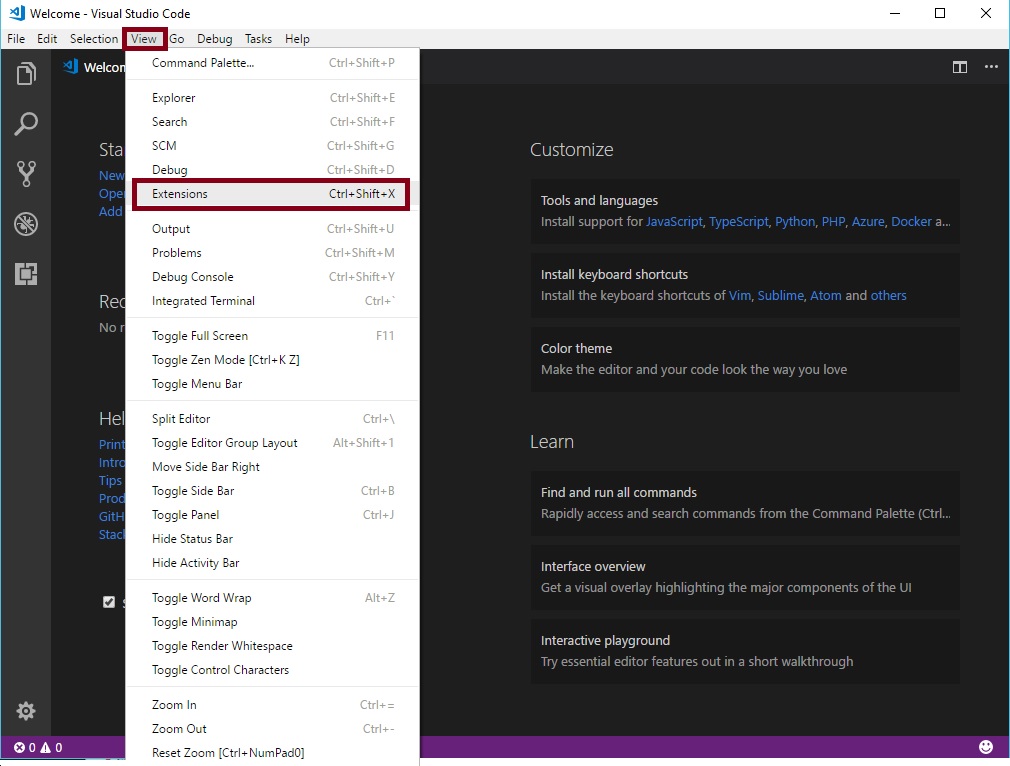
- Next, install the Azure Functions extension for Visual Studio Code.
- Click on the Azure logo in the Activity Bar. Under Azure: Functions, click Sign in to Azure… and follow the on-screen instructions.
Create an Azure Functions project
Click the Create New Project… icon in the Azure: Functions panel.

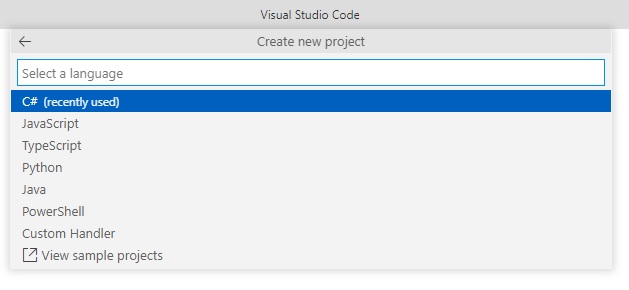
You will be prompted to choose a directory for your app. Choose an empty directory.

You will then be prompted to select a language for your project. Choose dotnet.


Create a function
If you skipped to provide details, for Functions in above process, you can still initiate later.
Click the Create Function… icon in the Azure: Functions panel.

You will be prompted to choose a template for your function. Select HTTP trigger for getting started.
Screens will be same as shown in above process.
Sample project will be created
As per the information provided by you, in above screens.
KSDQRGenerator.cs auto generated file code will be as below:
using System;
using System.IO;
using System.Threading.Tasks;
using Microsoft.AspNetCore.Mvc;
using Microsoft.Azure.WebJobs;
using Microsoft.Azure.WebJobs.Extensions.Http;
using Microsoft.AspNetCore.Http;
using Microsoft.Extensions.Logging;
using Newtonsoft.Json;

namespace Company.Function
{
    public static class KSDQRGenerator
    {
        [FunctionName("KSDQRGenerator")]
        public static async Task<IActionResult> Run(
            [HttpTrigger(AuthorizationLevel.Anonymous, "get", "post", Route = null)] HttpRequest req,
            ILogger log)
        {
            log.LogInformation("C# HTTP trigger function processed a request.");

            string name = req.Query["name"];

            string requestBody = await new StreamReader(req.Body).ReadToEndAsync();
            dynamic data = JsonConvert.DeserializeObject(requestBody);
            name = name ?? data?.name;

            string responseMessage = string.IsNullOrEmpty(name)
                ? "This HTTP triggered function executed successfully. Pass a name in the query string or in the request body for a personalized response."
                : $"Hello, {name}. This HTTP triggered function executed successfully.";

            return new OkObjectResult(responseMessage);
        }
    }
}

Now you have the Http Template, we will make necessary changes as per our requirement.
In this example we will be using a library – QRCoder to generate the QR Code.
So first we have created a function with Http Trigger.
Made changes to the function as:
/*string name = req.Query["name"];

            string requestBody = await new StreamReader(req.Body).ReadToEndAsync();
            dynamic data = JsonConvert.DeserializeObject(requestBody);
            name = name ?? data?.name;

            string responseMessage = string.IsNullOrEmpty(name)
                ? "This HTTP triggered function executed successfully. Pass a name in the query string or in the request body for a personalized response."
                : $"Hello, {name}. This HTTP triggered function executed successfully.";

            return new OkObjectResult(responseMessage);*/
Replace this part as below code:
            string ReqData = req.Query["ReqData"];

            string requestBody = await new StreamReader(req.Body).ReadToEndAsync();
            dynamic data = JsonConvert.DeserializeObject(requestBody);
            ReqData = ReqData ?? data?.url;
            if (string.IsNullOrEmpty(ReqData))
            {
                return new BadRequestResult();
            }

            var generator = ReqData;
            var payload = generator.ToString();

            using (var qrGenerator = new QRCodeGenerator())
            {
                var qrCodeData = qrGenerator.CreateQrCode(payload, QRCodeGenerator.ECCLevel.Q);
                var qrCode = new PngByteQRCode(qrCodeData);
                var qrCodeAsPng = qrCode.GetGraphic(20);
                return new FileContentResult(qrCodeAsPng, "image/png");
            }
Final Code should look like this:

There are some errors, correct. Next step will resolve the same.
Next, we will add the QRCode nuget package to the dotnet core project using
dotnet add package QRCoder –version 1.4.1


Post completing the command execution, all errors are resolved.
Run your function project locally
Press F5 to run your function app.
The runtime will output a URL for any HTTP functions, which can be copied and run in your browser’s address bar.

Copy the URL of the function & Switch to browser:
In my case: http://localhost:7071/api/KSDQRGenerator?ReqData=Test

If you scan above QRCode, you will get ‘Test’ as we have passed this as a parameter (?ReqData=Test)
To stop debugging, press Shift + F5.
Deploy your code to Azure
Click the Deploy to Function App… () icon in the Azure: Functions panel.


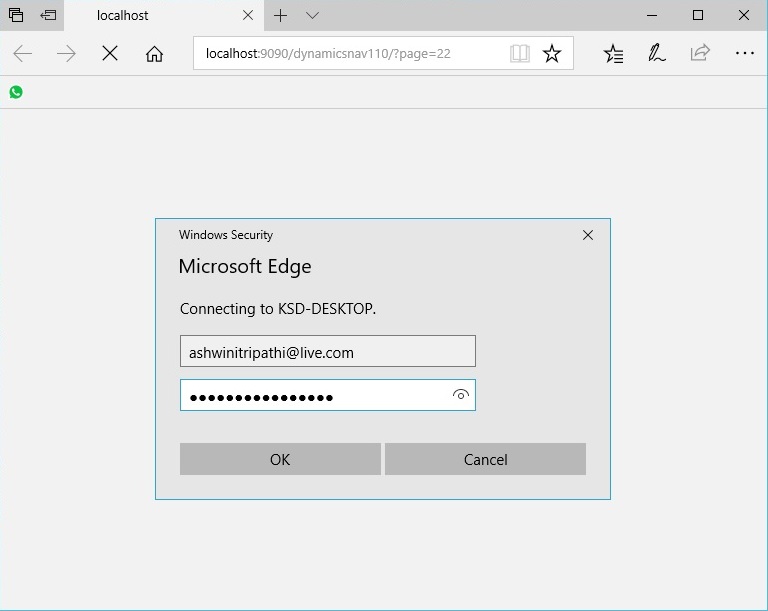
Sign in to your Azure Account, if not done earlier. To test locally you need not to sign in to Azure. But at deployment is must.
When prompted to select a function app, choose KSDQRCodeGenerator (in my case), Function App Created on Azure portal in the starting of this blog post.


Confirm to deployment dialog.

On completion you will get the Live AZURE URL, use the URL in same way as for local, to pass parameter append at the end of URL as (?ReqData=Test)
Replace [Test] with the information for which you want to generate the QR Code.
That’s all for this post, but visit again to learn from upcoming posts in this series, will post soon.
See you again in next post, Till then keep exploring, learning and sharing with others.


You must be logged in to post a comment.