AL, Assisted Setup, Business Central, Development Tips, Extension Package, How To, Information, Modern Development Tool, Tip & Tricks, V2, Wizard

Creating a Wizard Page in AL for Business Central

In today’s post we will learn to create Wizards.

First Let us understand why we use wizards.

  • We can define wizard as series of user input screens or steps.
  • You can show/hide options for each step based on previous step selection that is relevant to complete any setup process.
  • User can navigate between steps with Next and Previous buttons.
  • In Web Client it shows buttons with specific styling.
  • We define Page with type NavigatePage.
  • Plays crucial part in Assisted Setup.

Without going into much theory let’s start creating a Wizard Page.

Step: 1 –

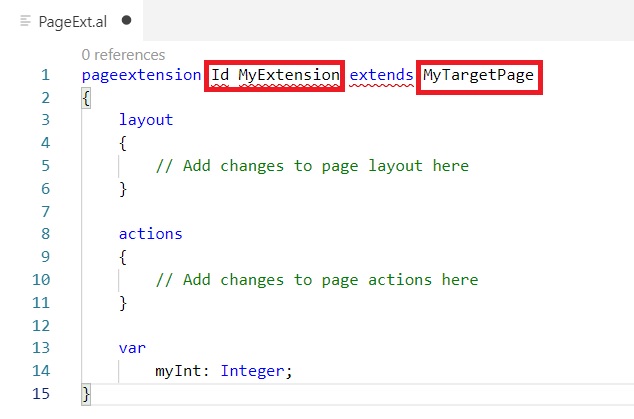
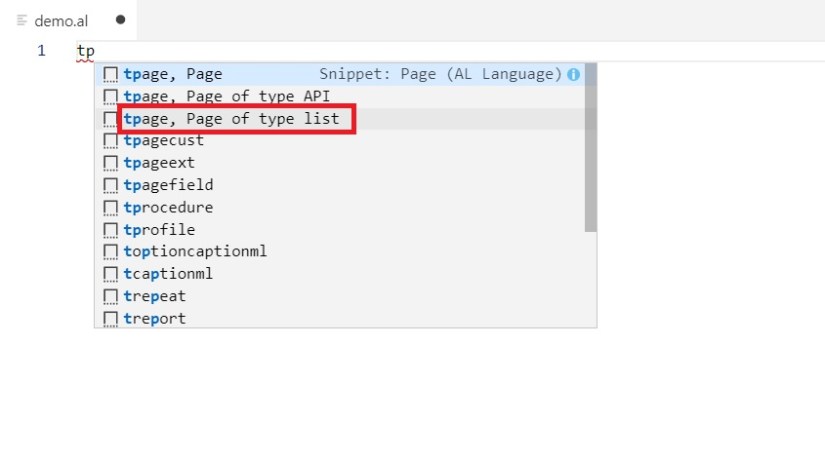
Create a New Page of type NavigatePage.

CI-1

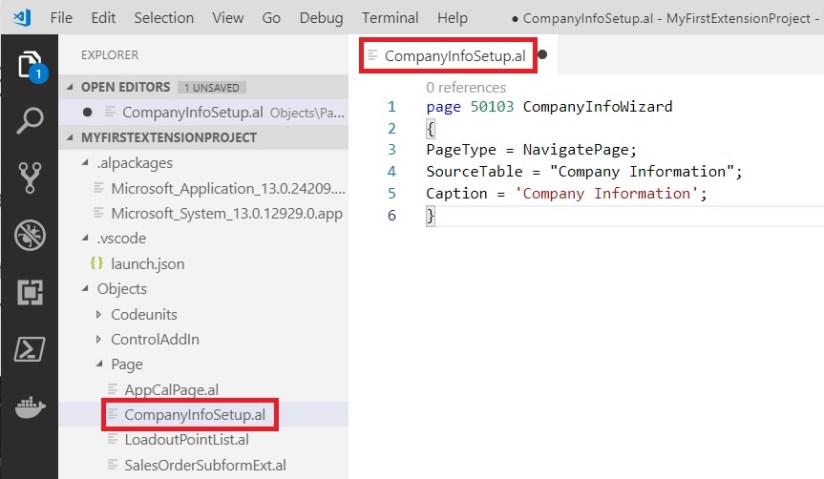
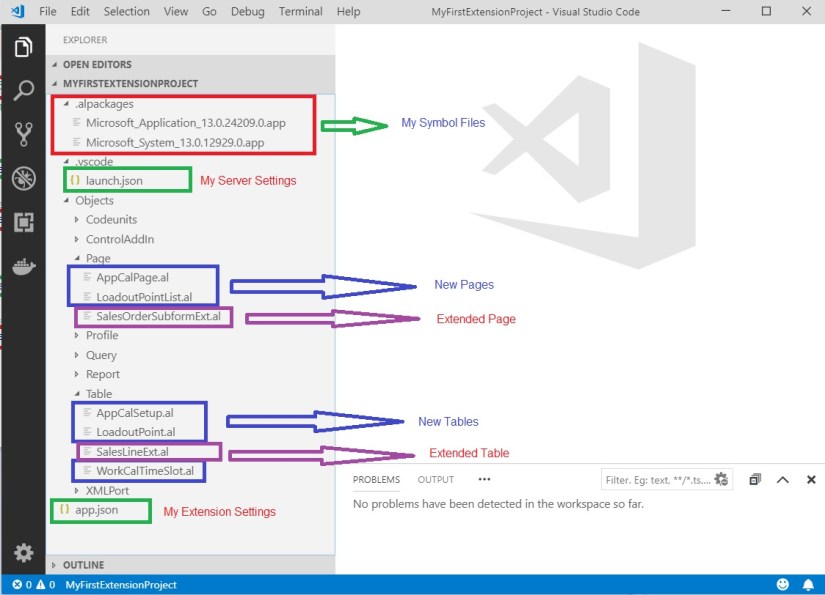
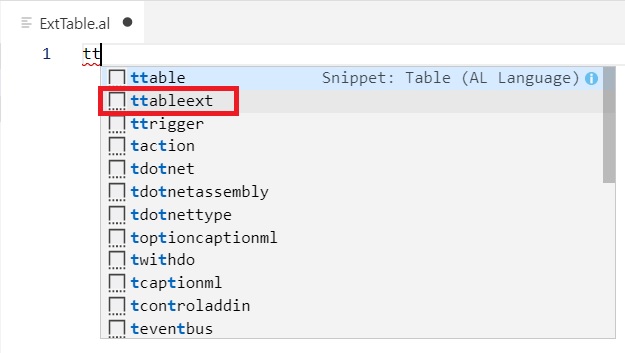
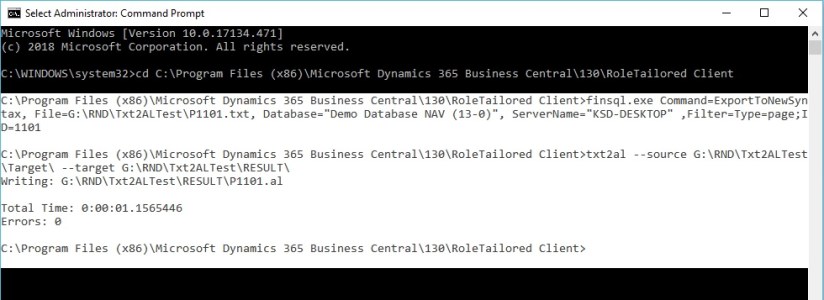
Create *.al file in your VSCode Project, you can use tpage snippet.

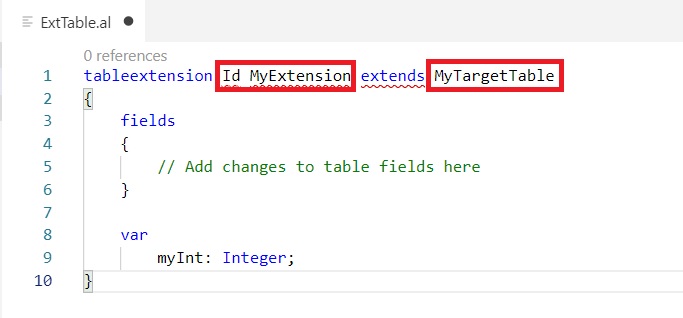
Set the Unique available ID in your database and Extension.

Give meaningful name to your file.

Set the PageType property to NavigatePage.

Set SourceTable property to the base table in my case “Company Information”

Step: 2 –

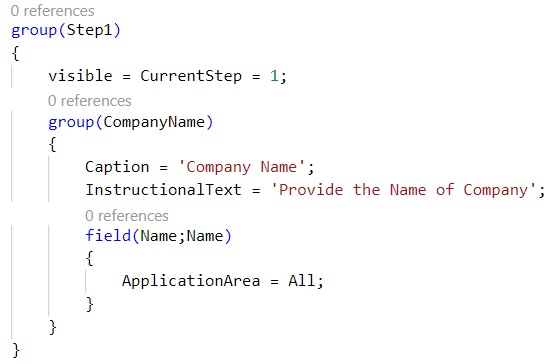
Add a Group for each Step you wish for your Setup, in my case I am using 3 Step.

Create Global variable CurrentStep of type Integer, this will help making decision on which step you are currently and act accordingly.

CI-2

On each Group, Set the Visible property with an expression:

Visible – CurrentStep = 1;

And so on.

Step: 3 –

Create a sub-group inside the steps and set the suitable Caption.

Set InstructionalText to provide guidance

Add fields to the sub-group

CI-3

And similarly to other groups.

Step: 4 –

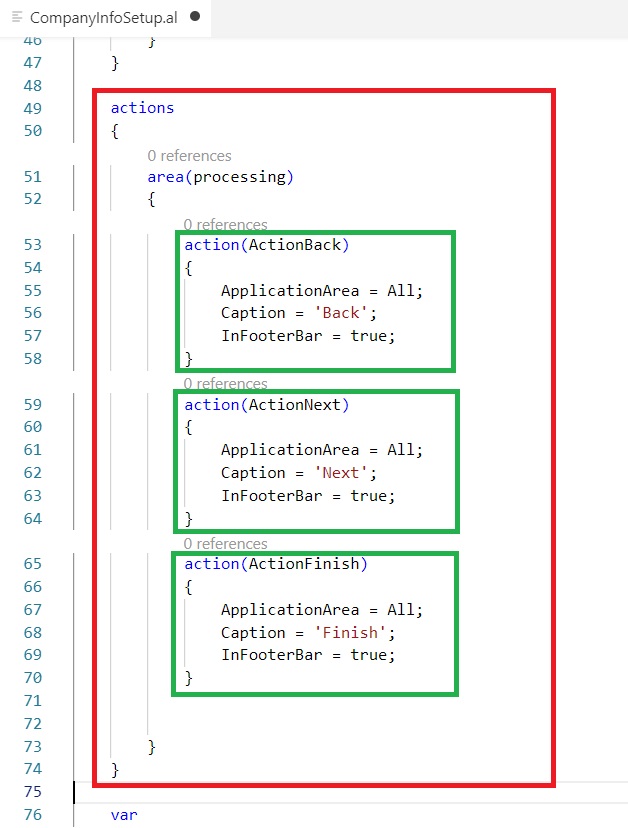
Add three actions to facilitate navigation.

For each action, set the InFooterBar property to true.

When this is used in combination of PageType NavigatePage, it will show action as navigation buttons.

CI-4

Step: 5 –

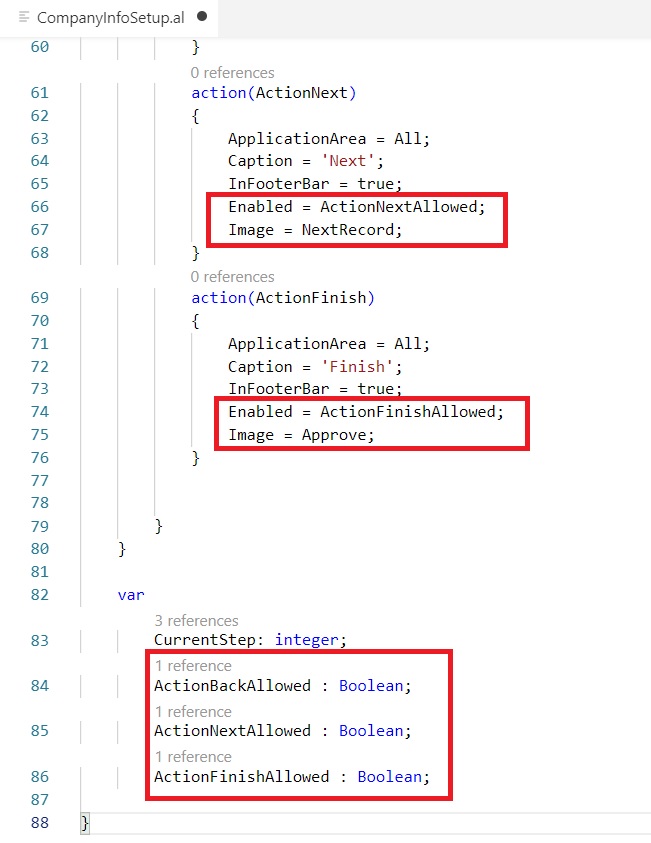
Create 3 global variables as Boolean, say ActionBackAllowed, ActionNextAllowed, ActionFinishAllowed

On each action, set the Enabled property to the appropriate global variable.

Set the Image property of your actions:

Back : PreviousRecord

Next : NextRecord

Finish : Approve

CI-5

Step: 6 –

Create function/procedure to SetControls, TakeStep and Set starting values in the OnOpenPage trigger.
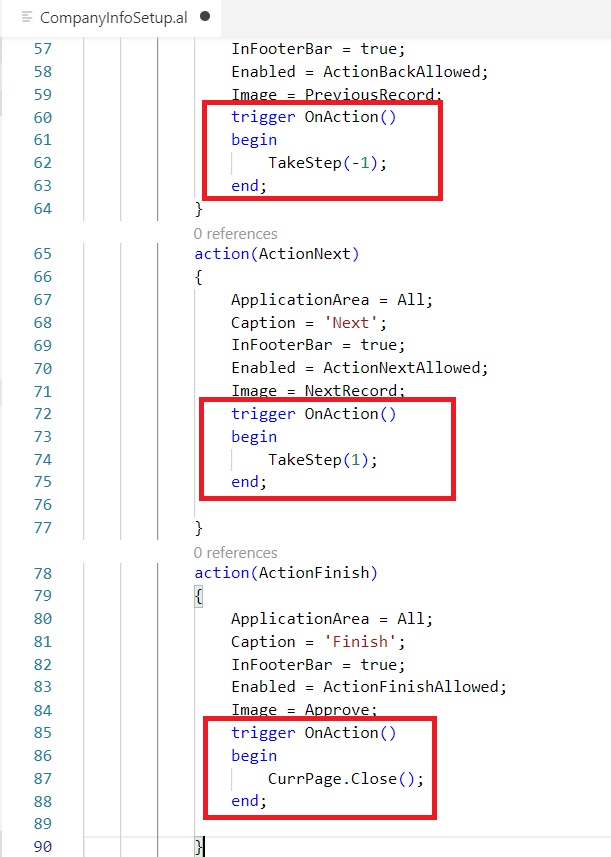
CI-6

Step: 7 –

Now we will add OnAction trigger to the navigation actions.
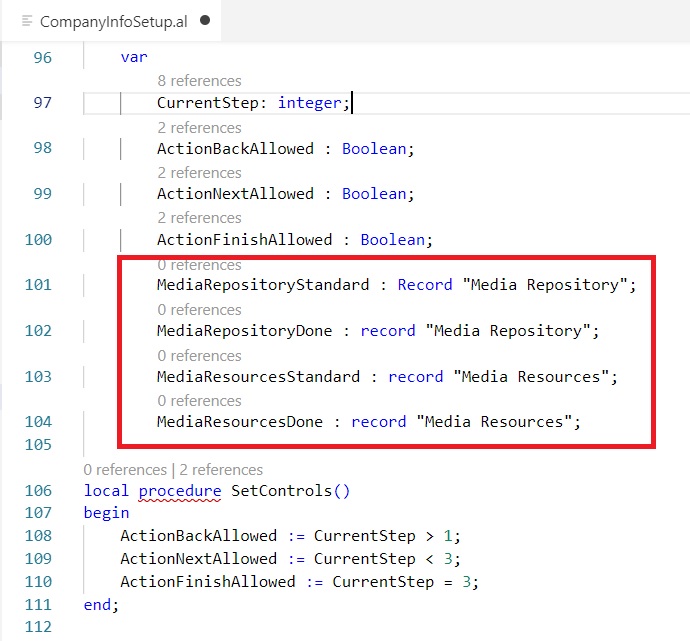
CI-7

Step: 8 –

Now we will create 2 global record variables for Media Repository table and for the Media Resources table.

CI-8

Step: 9 –

Now add 2 new groups above Step 1 Group.

Add field to each group.

Set source expression to the Image field of the Media Resources variables.

Set ShowCaption property to false.

CI-9

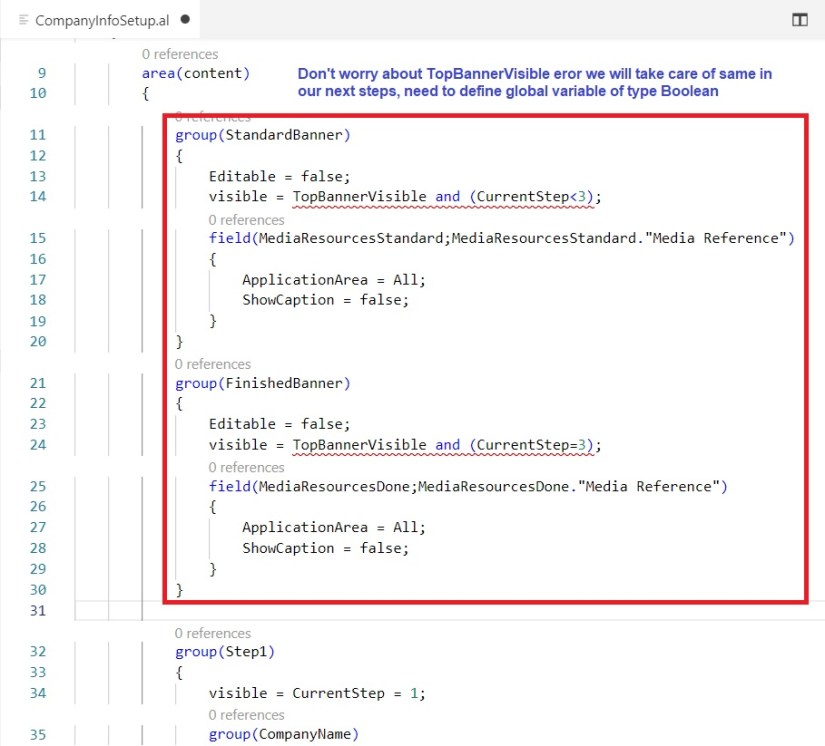
You see error for TopBannerVisible let’s define a global variable of type Boolean.

Step: 10 –

Now we will Add a function to Load the top banner images.

Call this function from OnInit trigger.

CI-10

We are done with our base design of Wizard.

Now time to deploy and Test.

For testing purpose let’s hook it to some page and see the result.

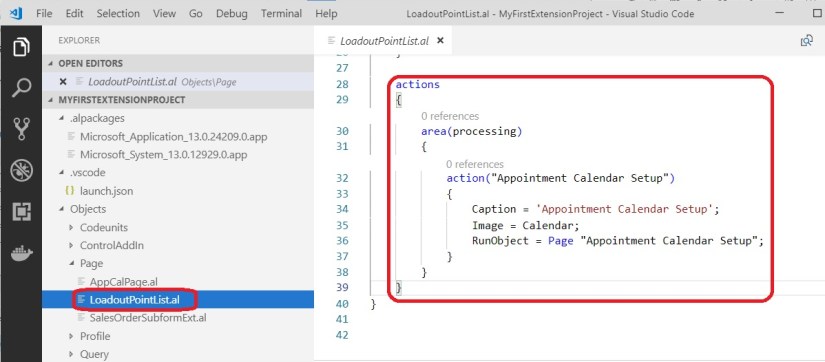
Although it is not correct place but for testing purpose let’s add to our existing page created in earlier post “Loadout List” page and test the output.

CI-11

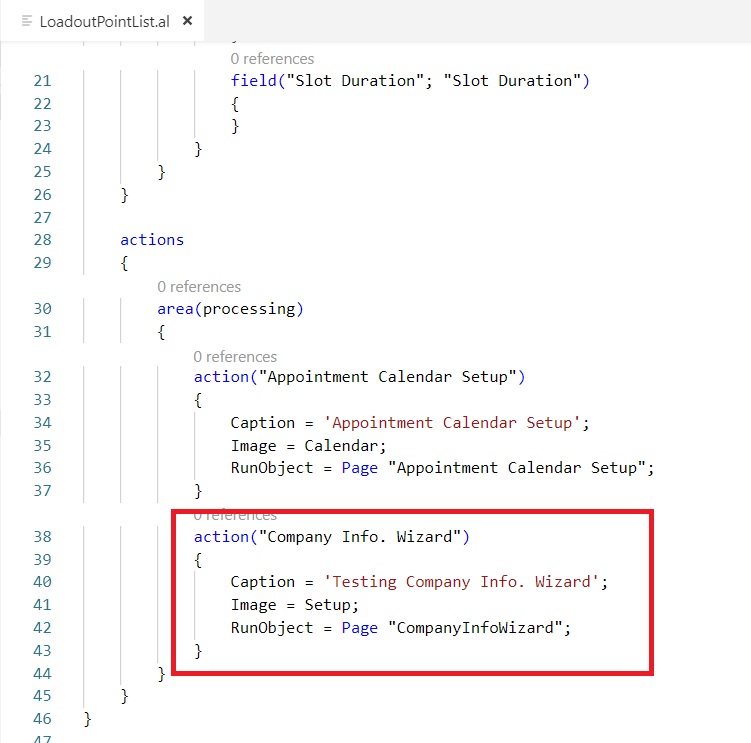
Added new action on “Loadout List” Page, just to check the output. I will come up with Assisted Setup in our next post and hook it there.

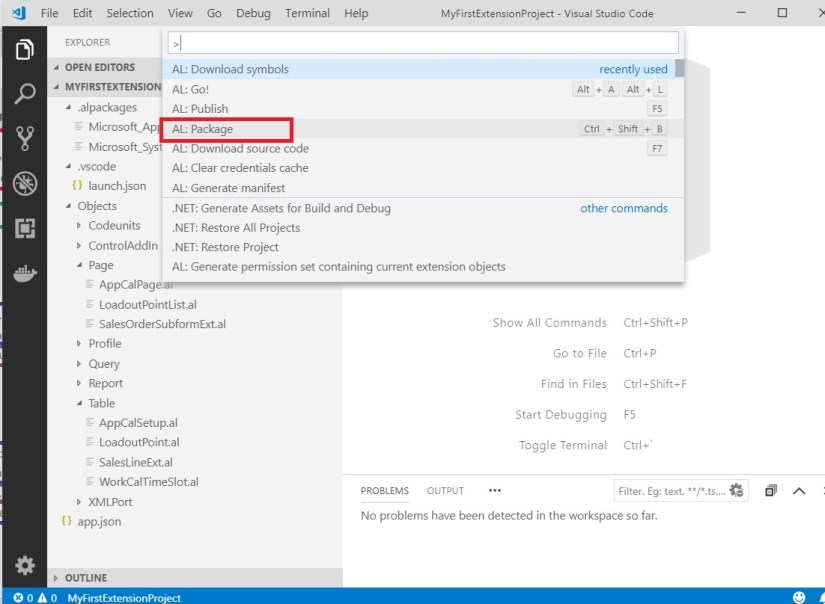
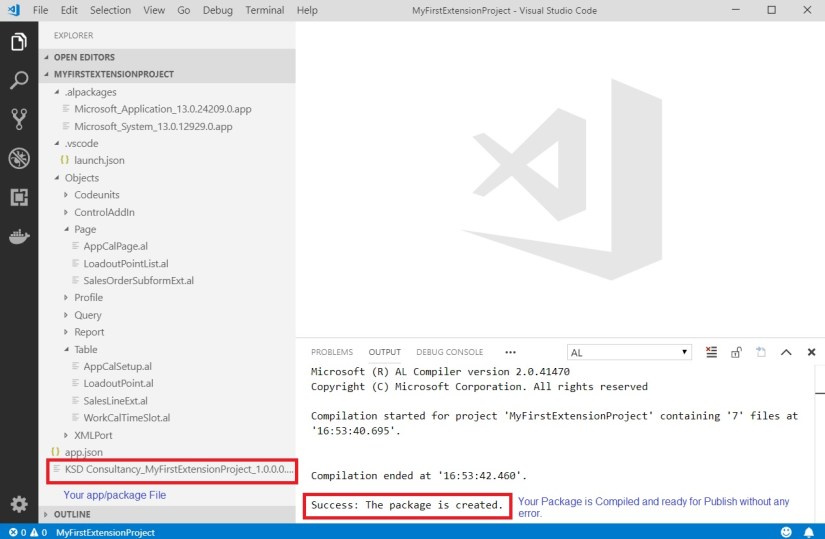
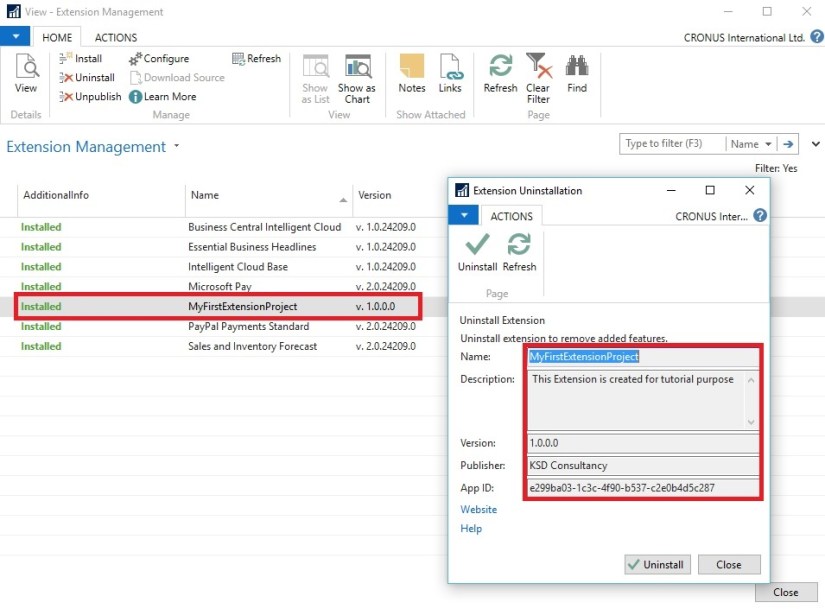
Now we will Build and Deploy the Extension and review what we created.

CI-12

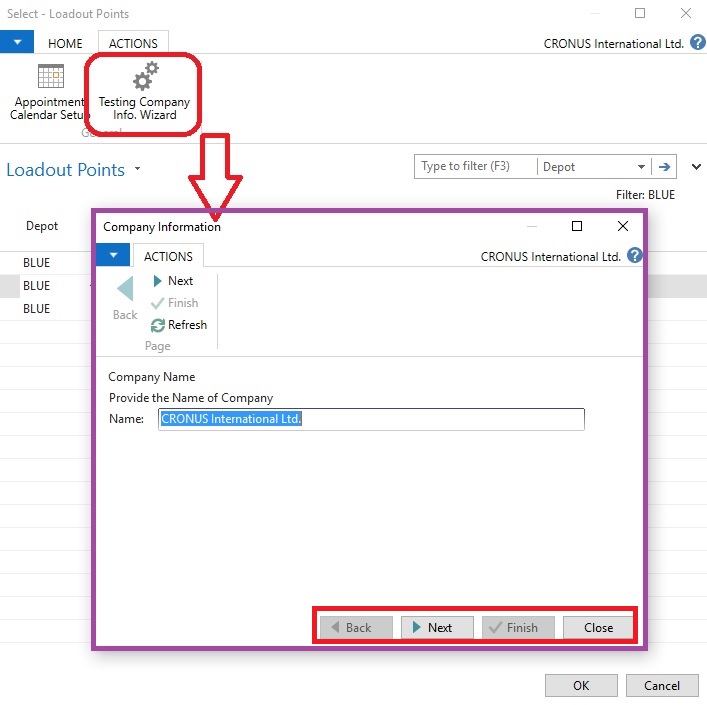
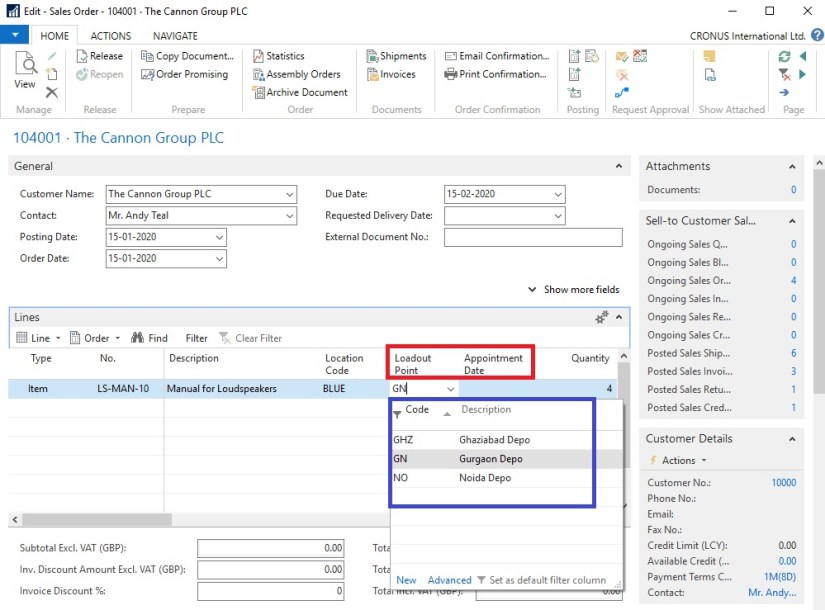
Access your Loadout Point List Page from Sales Order Line and Run the Wizard.

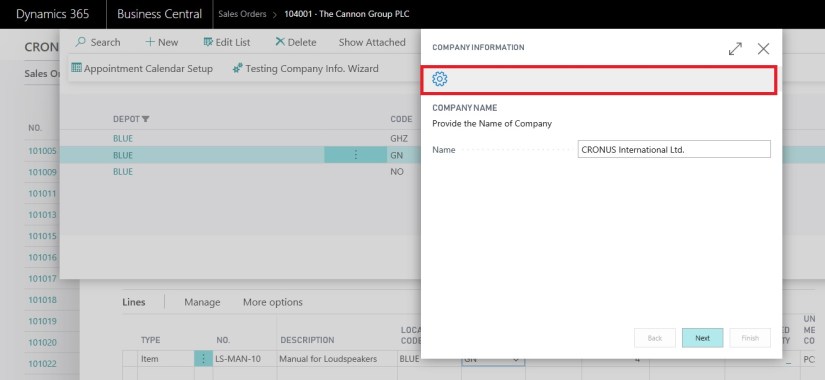
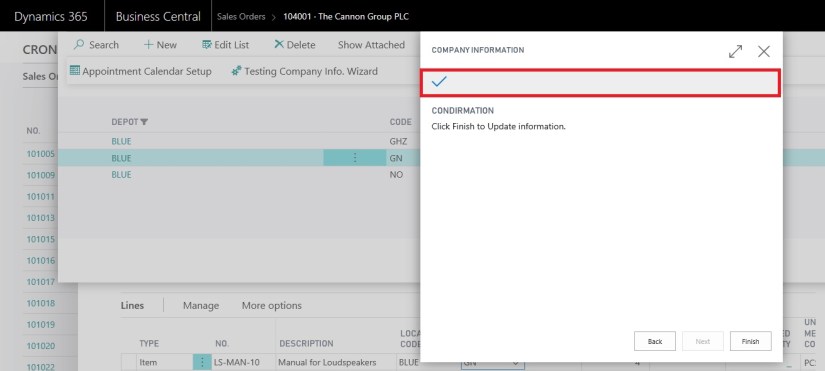
Let’s run the same from the Web Client.

ci-13

ci-14

I will come up with linking this Wizard Page to Assisted Setup in our next post.

Advertisement
AL, Business Central, Development Tips, Extension Package, How To, Information, Modern Development Tool, Tip & Tricks, V2, What's New

AL Basics – Part 6 [Publishing & Testing Extension]

Today we will see in our post how we can Publish & Test our Extension.

To be able to follow this steps discussed below you should have gone through my earlier post and your project is ready to continue from where we left in our previous post. If yet not please follow below links and continue their after to this post.

Bare Minimum Steps to Start with fresh Extension Project for Business Central

AL Basics – Part 2 [Table]

AL Basics – Part 3 [Table Continued]

AL Basics – Part 4 [Page]

AL Basics – Part 5 [Extending Table & Page]

Since we are going to continue same project, reason why I am asking to have it as we will be referencing to the objects we created in above posts.

Let’s begin with our today’s task.

Ext-7

Now we have all required basic stuffs to Publish our Extension.

To Publish your Extension first need to Build and Package your Extension.

Although you can Package & Publish in single command, follow as you feel comfortable.

Press <Ctrl> +<Shift> + <P> to access your Command Pallet.

Ext-8

Chose AL:Package to create Package.

Ext-9

At this stage your package is ready for deployment/Publish.

Next we will Chose AL:Publish from Command Pallet.

Ext-10

This will create Package and Publish to your server as given in launch.json file.

Just previous step is optional to create Package, but it is helpful in case you want to just create a package but not publish to your server, may be you have tested and creating final package for delivery to your customer.

Whatsoever, we are now ready to test our Package/Extension.

You may get below error:

The request for path /BC130/dev/metadata failed with code InternalServerError. Reason: NetFx40_LegacySecurityPolicy is enabled and must be turned off in the Microsoft.Dynamics.Nav.Server.exe.config file.

Locate the file from installation folder in my case: C:\Program Files\Microsoft Dynamics 365 Business Central\130\Service

Ext-11

Set value to false save and replace the config file.

Restart your Service, and try publishing again.

You may get error:

Error: Could not open the specified startup page. Please check that the server configuration key PublicWebBaseUrl has been properly set.

That’s not a problem you can ignore it, actually it is trying to open WebClient and launch the Object you specified in launch.json file.

Open your Client and browse Extension Management.

Ext-12

Your Extension is published, & you can check the information that you provided in app.json file is visible.

Now Let’s Test our Extension.

If you remember we have integration point on Sales order line, so to see our extension in action we need to check our Sales Order Line.

Ext-13

You can see the fields that we added in our Page Extension is visible on Sales Order Line.

You can add your data and start using the extension.

If you remember we also added Appointment Calendar Setup Page to the action on Loadout Point Page.

Ext-14

If you check the Objects in your database you will not find these objects in Object designer, so where is my all data stored & saved.

To find them you need to check in your SQL database.

Your Tables are name defined with postfix your application ID.

Sales Line Extended Table data.

Ext-15

Loadout Point Table data.

Ext-16

Working Calendar Time Slot.

Ext-17

Appointment Calendar Setup.

Ext-18

Hope you enjoyed Publishing and playing around with your First Extension.

I will come up with more advanced features and tips on Extensions in upcoming posts.

Keep Learning, remain safe and stay tuned for more in upcoming posts.

AL, Business Central, Development Tips, Extension Package, How To, Information, Modern Development Tool, Tip & Tricks, V2, Visual Studio Code

AL Basics – Part 5 [Extending Table & Page]

Today we will see in our post how we can extend our Existing Table & Pages.

To be able to follow this steps discussed below you should have gone through my earlier post and your project is ready to continue from where we left in our previous post. If yet not please follow below links and continue their after to this post.

Bare Minimum Steps to Start with fresh Extension Project for Business Central

AL Basics – Part 2 [Table]

AL Basics – Part 3 [Table Continued]

AL Basics – Part 4 [Page]

Since we are going to continue same project, reason why I am asking to have it as we will be referencing to the objects we created in above posts.

Let’s begin with our today’s task.

Create a new .al file, fresh new file. We can write all our code in single file but we are following to have one object per file so that it is easy to manage in future, as any even small customization will involve many of the objects.

First we will extend a Table from Sales Line and add some fields with reference to the existing Table Loadout point we created in our earlier post.

Ext-1

This will give us the basic structure of the Table Extension.

Ext-2

We need to Provide Unique ID, Name of Extended Table & from which Table we want to extend our current Table.

Ext-3

Now Rename & Save your File.

Next we will extend a Page to add this 2 new fields.

Now we will extend a Page from Sales Order Subform and add above fields.

Create a new .al file, fresh new file.

Ext-4

This will give us the basic structure of the Page Extension.

Ext-5

We need to Provide Unique ID, Name of Extended Page & from which Page we want to extend our current Page.

Ext-6

Now Rename & Save your File.

I have added an action to our existing Page Loadout Point List Page to link the Appointment Calendar Setup Page, just for demo purpose, we fill find suitable place to add same in our future post.

Ext-6-1

After this step we are done with one small/basic extension which we can Publish and check the output.

We will see this in our next post.

AL, Business Central, C/AL, Development Tips, Extension Package, How To, Information, Modern Development Tool, Tip & Tricks, V2, What's New

AL Basics – Part 4 [Page]

Today we will see how to create pages in AL.

Before we dive into it lets have some basic concept for Pages.

If you navigate in Navision you may be familiar with page types we have in Navision.

Types of Page

  • Card Page
  • List Page
  • CardPart Page
  • ListPart Page
  • Worksheet Page
  • Document Page
  • RoleCenter Page
  • Confirmation Dialog Page
  • ListPlus Page
  • StandardDialog Page
  • Navigate Page

All above pages are just how we design and use them for specific purpose, I will not go in details what type of page is used for what purpose you can find them in any document or already familiar with.

When we design pages we should have idea of Page Controls

Different Page Controls you have on pages are:

  • Actions
  • Content Area
  • Factbox Area
  • RoleCenter Area

All controls are placed in pages using below arrangement

Type SubType
   
Container Content Area
  FactBox Area
  RoleCenter Area
   
Group Group (Fast Tabs – on Card Pages)
  Repeater (List Pages)
  CueGroup (Rolecenter Pages)
  FixedLayout
  Grid layout
   
Field Data from Table
   
Part Display another Page, Chart, System defined features

Lets understand from below Customer List Page

Pag-1

Let’s create our First Page.

To Create a Page First we will create a File .al.

In Editor we fill type snippet tpage

You will get the options available, select Page of type list, we are going to create List Page.

Pag-2

Basic structure of the Page is given to you as below

Pag-3

Lets create our LoadoutPointList Page on Table Loadout Point table created in previous post.

Pag-4

Similarly we will create a Appointment Calendar Setup List Page, final code as below:

Pag-5

Similarly you can design Card Page Also:

I am not creating Page from scratch but will show you few properties, triggers from standard Page e.g.:- Cost Type Card

Pag-6

PageType you need to define as Card.

For FastTab you need to define group.

Pag-7

Above is the example of few properties for field control on Page.

Pag-8

To add factboxes to the page you define area(factboxes).

Here systempart for Links & Notes is added.

Pag-9

Above is actions to the page. Few properties how to define.

Pag-10

Above is the Page triggers.

Complete code for each objects is not possible to include in post.

But I will give to some tips using which you can explore equivalent AL Code and tryout them.

Suppose you want to see any feature how implemented in Customer Card.

Export that object as text, and convert using txt2al for equivalent al code.

You can refer back to my previous post Quick Start with Extensions for Business Central

Similar method I have explained in this post.

Pag-11

We will explore few more possibilities and Extending to existing Table & Pages in our upcoming post.


AL, Business Central, C/AL, Development Tips, Extension Package, How To, Information, Modern Development Tool, Tip & Tricks, V2

AL Basics – Part 3 [Table Continued]

In last post we saw basics of how to Create Table and created a Loadout Point Table.

Today we will continue from where we left in previous post. If you missed previous post you can find here AL Basics – Part 2.

We will create one New Table say Working Calendar Time Slot. Since no new concept used in this table so without explanation I will directly share the final structure of this Table. I am using this table in today’s next Table which I will be creating later below.

So here is the structure of this Table.

TAB2-1

Now coming to today’s topic. Creating Field Triggers & Functions.

I will be creating a new table Appointment Calendar Setup.

Here is the structure of same, and explanation follows after screen shot.

TAB2-2

In this Table the Loadout Point field TableRelation to the Loadout Point table that we created in our previous post.

Similarly the field Start Working Hrs. & End Working Hrs. field, OnValidate() trigger is implemented which call to a function/procedure CreateTimeSlot() defined in this table itself.

Field Start Working Days & End Working Days is defined with option type.

When user Enters the Start Working Hrs. & End Working Hrs. we will create the Time Slot for that Location (Loadout Point).

Finally I have created a local procedure in the table, which as per the information entered it creates the Time Slot in Table we created above Working Calendar Time Slot. Also see I have created few local variables to the function of different types. You can see there is no difference in writing the code, it follows same syntax as in our Navision C/AL. Advanced coding options and what’s new will discuss separately in future posts.

Till here we have our basic structure of our Extension. We will see how to design page in our next post.

We will come with more advance points on Table Later as we proceed in completing our Extension. There is lots of things to share on this topic but sometime later in future posts. First Let us cover all Object Types.

AL, Business Central, Development Tips, Dynamics 365, Extension Package, How To, Information, Tip & Tricks, V2, What's New

AL Basics – Part-1

Programming in AL is very easy, just we need to make up our mind to accept the changes. Till we resist to changes it seems to be hard once we accept it, that becomes easy.

In VS Code, for AL it provides Snippets which help you with creating your base structure following which you can easy build up your complex coding structures.

Few Snippets ready to use are as below:

To Create Structure of Snippet to use
Table ttable
Page tpage
Codeunit tcodeunit
Page Extension tpageext
Table Extension ttableext
Table Field tfield
Page Field tfieldpage
Trigger ttriger
Functions/Procedure tprocedure
Assert error tassert
With Do twithdo
If tif
If Else tifelse
Case of tcaseof
Case else tcaseelse
For tfor
While twhile
Repeat Until trepeat

Today I will explain on conditional and loop statements for others I will do in next post.

These statements are similar as we are familiar with using in our C/AL.

Below are few examples to explain them, since no changes so need not commentary for same.

conditional StatementsLoop Statements

For other Snippets will come in next post.

Dynamics 365, How To, Information, Modern Development Tool, NAV 2018, Tip & Tricks, Updates, What's New

NAV Development Preview – Modern Development Tools for Dynamics NAV

Dear friends, after writing blog on Modern Development Tools for Dynamics NAV few of my readers requested to compile all information related to this in single blog.

Here are the links related to these posts, not all are my but are useful and will help keep you updated on same.

Extensions 2.0

Configuring Visual Studio Code

Below are the helpful other links from Microsoft Dynamics NAV Team

How do I learn more?

Check out these docs:

Tools overview

Getting Started guide

Object overview and AL language changes

Modern Development Tools Updates

released from launch till Dec 2017

Modern Development Tools for Dynamics NAV

NAV Development Tools Preview – January Update

NAV Development Tools Preview – February Update

NAV Development Tools Preview – March Update

NAV Development Tools Preview – April Update

NAV Development Tools Preview – June Update

NAV Development Tools Preview – July Update

NAV Development Tools Preview – August Update

NAV Development Tools Preview – September Update

NAV Development Tools Preview – October Update

NAV Development Tools Preview – November Update

NAV Development Tools Preview – December Update

Hope you find this information useful in understanding and learning the new Modern Development Tool for Dynamics NAV 2018.