
Today we will see in our post how we can Publish & Test our Extension.
To be able to follow this steps discussed below you should have gone through my earlier post and your project is ready to continue from where we left in our previous post. If yet not please follow below links and continue their after to this post.
Bare Minimum Steps to Start with fresh Extension Project for Business Central
AL Basics – Part 3 [Table Continued]
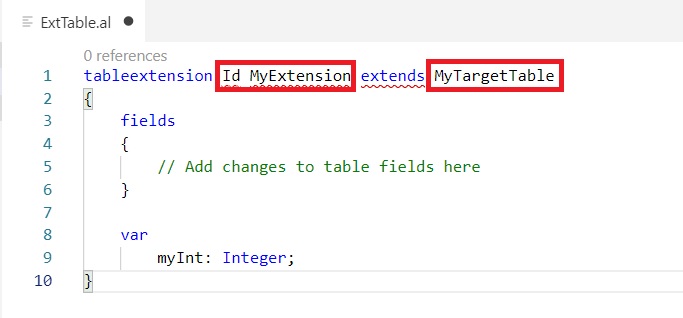
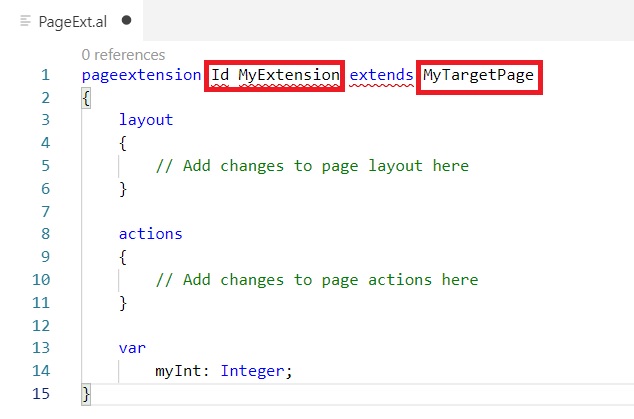
AL Basics – Part 5 [Extending Table & Page]
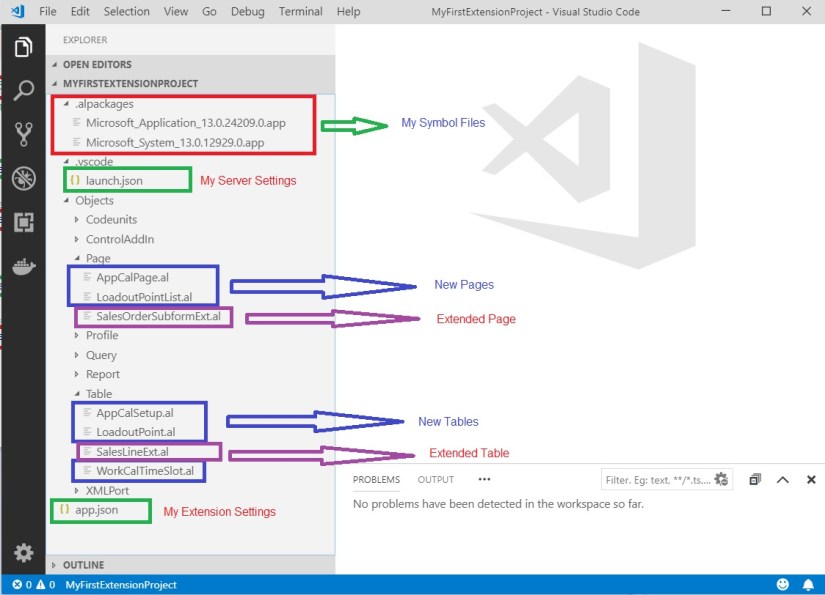
Since we are going to continue same project, reason why I am asking to have it as we will be referencing to the objects we created in above posts.
Let’s begin with our today’s task.
Now we have all required basic stuffs to Publish our Extension.
To Publish your Extension first need to Build and Package your Extension.
Although you can Package & Publish in single command, follow as you feel comfortable.
Press <Ctrl> +<Shift> + <P> to access your Command Pallet.
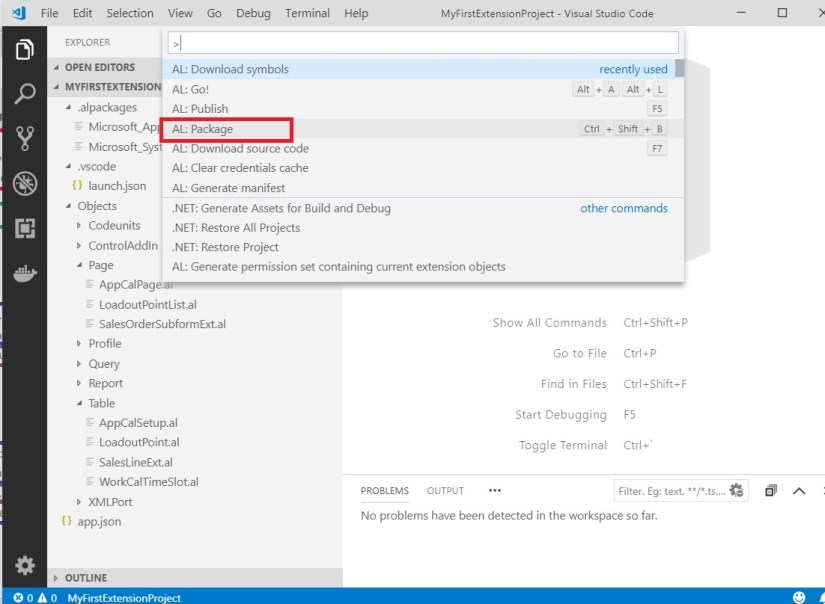
Chose AL:Package to create Package.
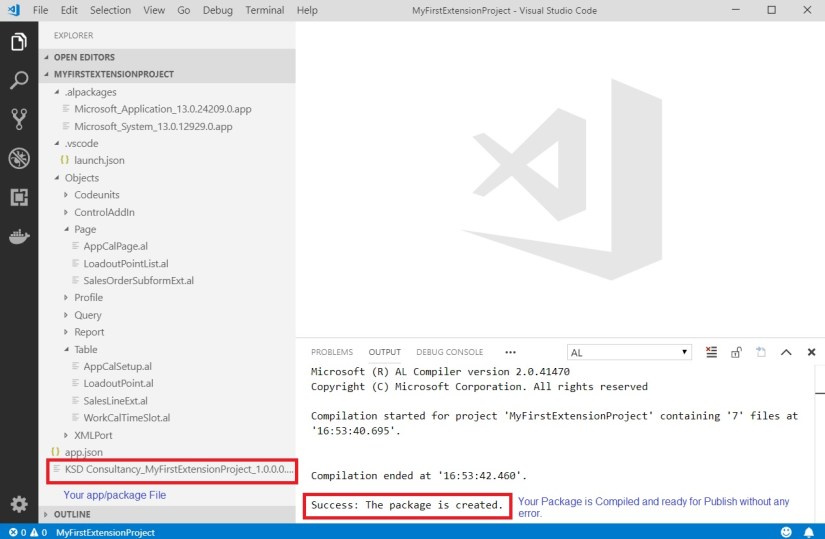
At this stage your package is ready for deployment/Publish.
Next we will Chose AL:Publish from Command Pallet.

This will create Package and Publish to your server as given in launch.json file.
Just previous step is optional to create Package, but it is helpful in case you want to just create a package but not publish to your server, may be you have tested and creating final package for delivery to your customer.
Whatsoever, we are now ready to test our Package/Extension.
You may get below error:
The request for path /BC130/dev/metadata failed with code InternalServerError. Reason: NetFx40_LegacySecurityPolicy is enabled and must be turned off in the Microsoft.Dynamics.Nav.Server.exe.config file.
Locate the file from installation folder in my case: C:\Program Files\Microsoft Dynamics 365 Business Central\130\Service
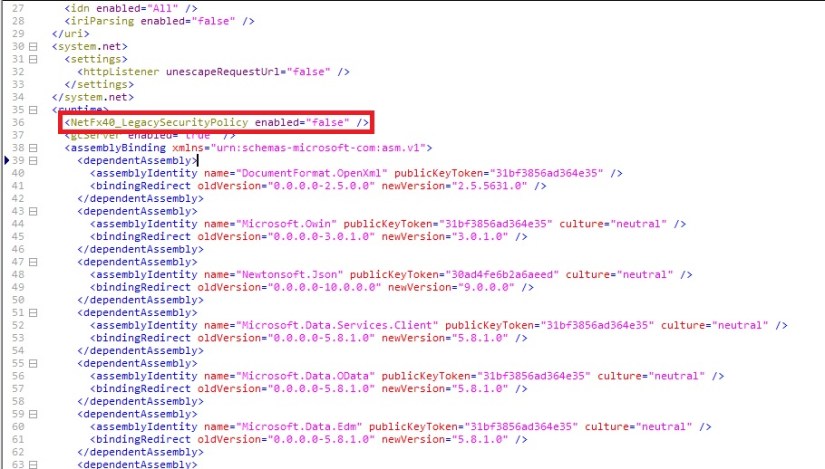
Set value to false save and replace the config file.
Restart your Service, and try publishing again.
You may get error:
Error: Could not open the specified startup page. Please check that the server configuration key PublicWebBaseUrl has been properly set.
That’s not a problem you can ignore it, actually it is trying to open WebClient and launch the Object you specified in launch.json file.
Open your Client and browse Extension Management.
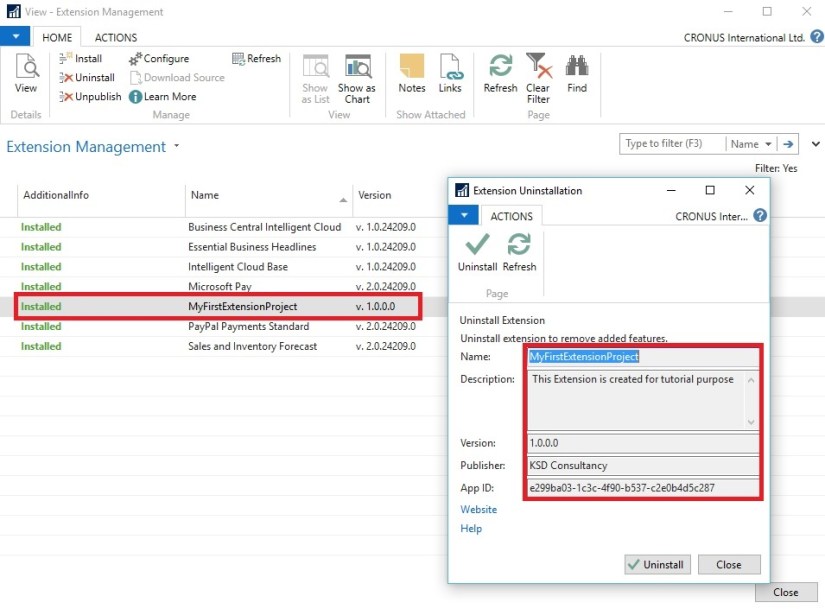
Your Extension is published, & you can check the information that you provided in app.json file is visible.
Now Let’s Test our Extension.
If you remember we have integration point on Sales order line, so to see our extension in action we need to check our Sales Order Line.
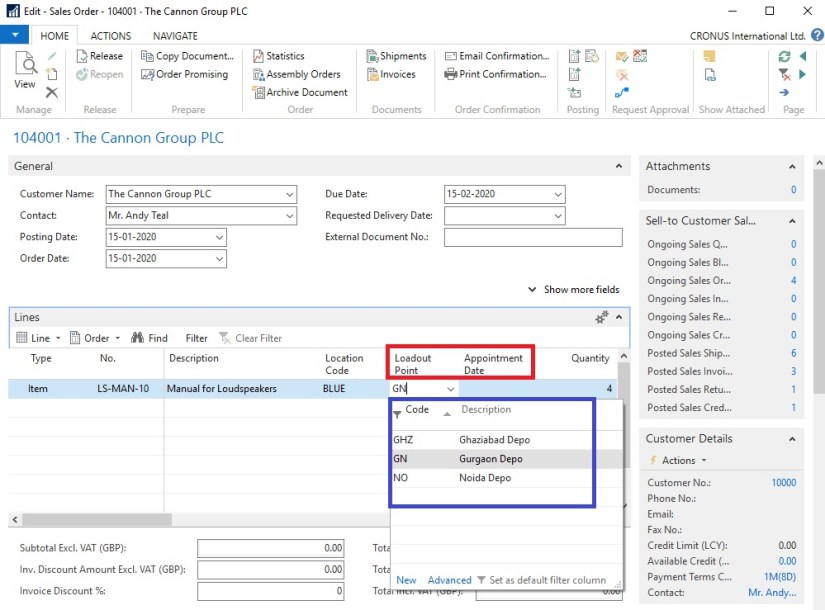
You can see the fields that we added in our Page Extension is visible on Sales Order Line.
You can add your data and start using the extension.
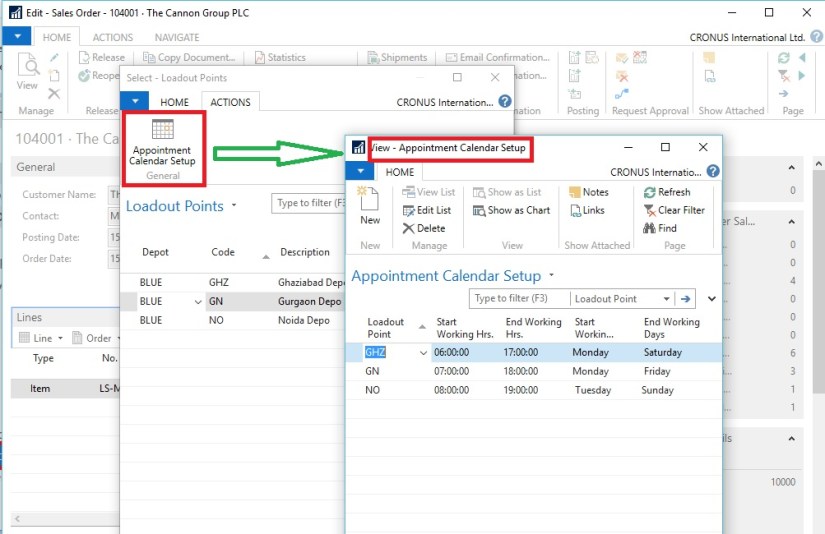
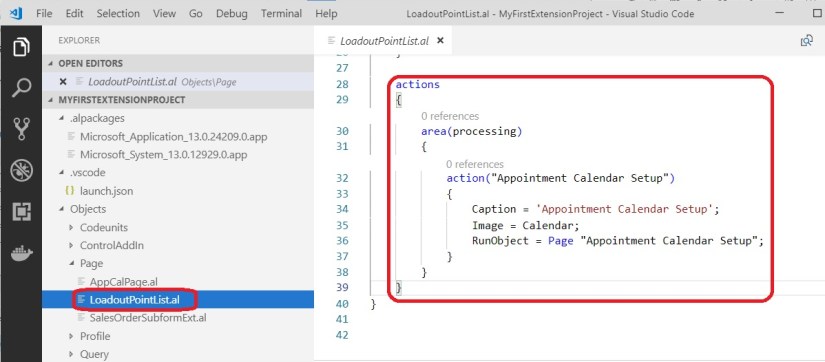
If you remember we also added Appointment Calendar Setup Page to the action on Loadout Point Page.
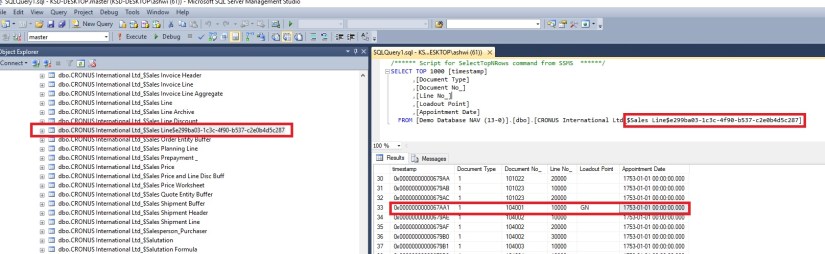
If you check the Objects in your database you will not find these objects in Object designer, so where is my all data stored & saved.
To find them you need to check in your SQL database.
Your Tables are name defined with postfix your application ID.
Sales Line Extended Table data.
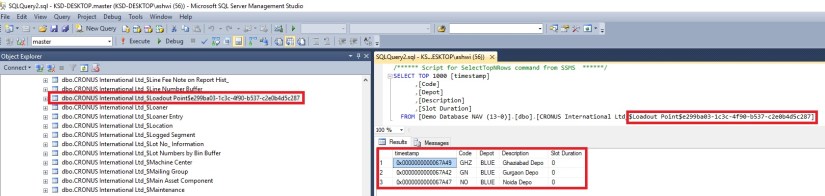
Loadout Point Table data.
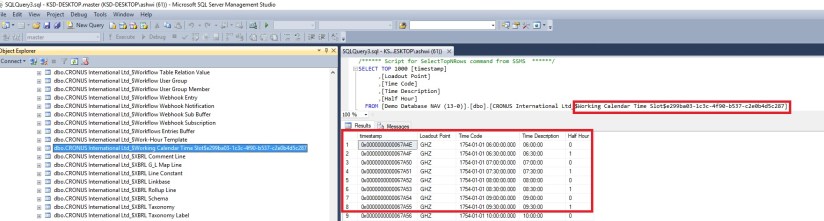
Working Calendar Time Slot.
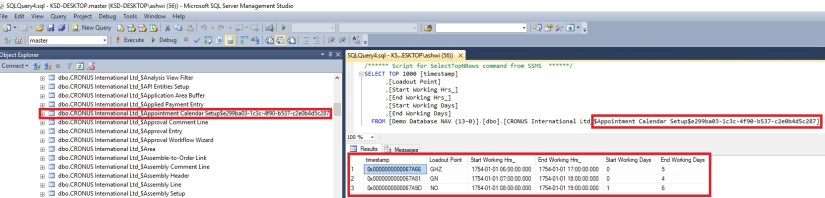
Appointment Calendar Setup.
Hope you enjoyed Publishing and playing around with your First Extension.
I will come up with more advanced features and tips on Extensions in upcoming posts.
Keep Learning, remain safe and stay tuned for more in upcoming posts.


You must be logged in to post a comment.