
This post is in continuation to my earlier post. Please check if you missed.
Database Replication – Part II
Database Replication – Part III
Database Replication – Part IV
As committed in this post we will continue to cover practical approach, Next step from last post.
We will create a subscription using SQL Server Management Studio
To create the subscription
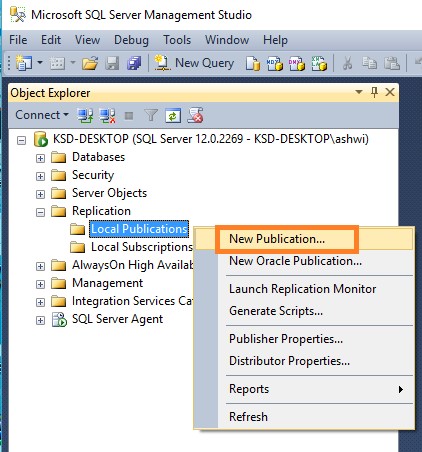
- Connect to the Publisher in SQL Server Management Studio, expand the server node, and then expand the Replication folder.
- In the Local Publications folder, right-click the Nav2018ItemTrans publication, and then click New Subscriptions.

The New Subscription Wizard launches.
- On the Publication page, select Nav2018ItemTrans, and then click Next.

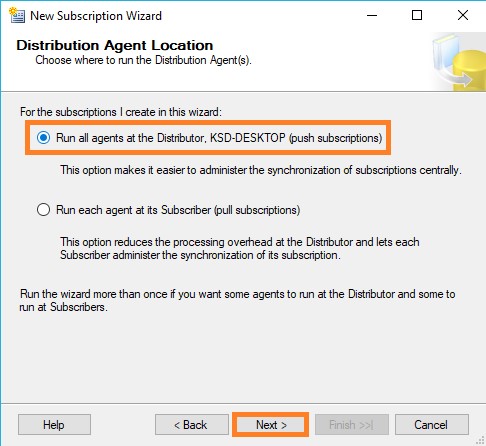
- On the Distribution Agent Location page, select Run all agents at the Distributor, and then click Next.
- On the Subscribers page, if the name of the Subscriber instance is not displayed, click Add Subscriber, click Add SQL Server Subscriber, enter the Subscriber instance name in the Connect to Server dialog box, and then click Connect.
- On the Subscribers page, select the instance name of the Subscriber server, and select under Subscription Database.
- On the New Database dialog box/Select from Drop Down List, enter Nav2018ReplDatabase in the Database name box, click OK, and then click Next.

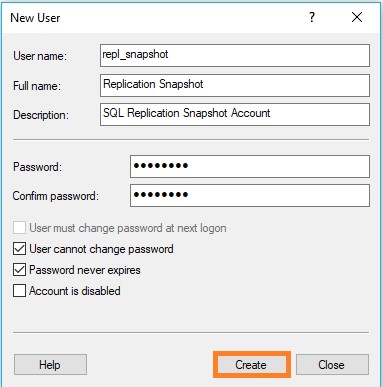
- In the Distribution Agent Security dialog box, click the ellipsis (…) button, enter <Machine_Name>\repl_distribution in the Process account box, enter the password for this account, click OK.

- Click Next.


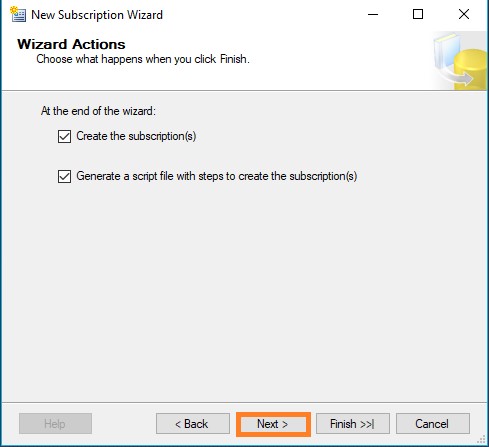


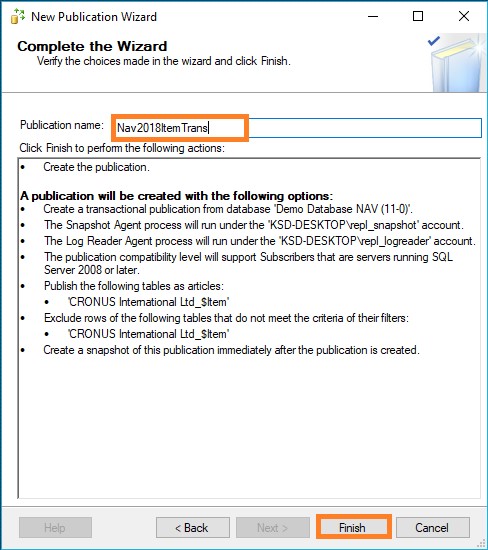
- Click Finish to accept the default values on the remaining pages and complete the wizard.
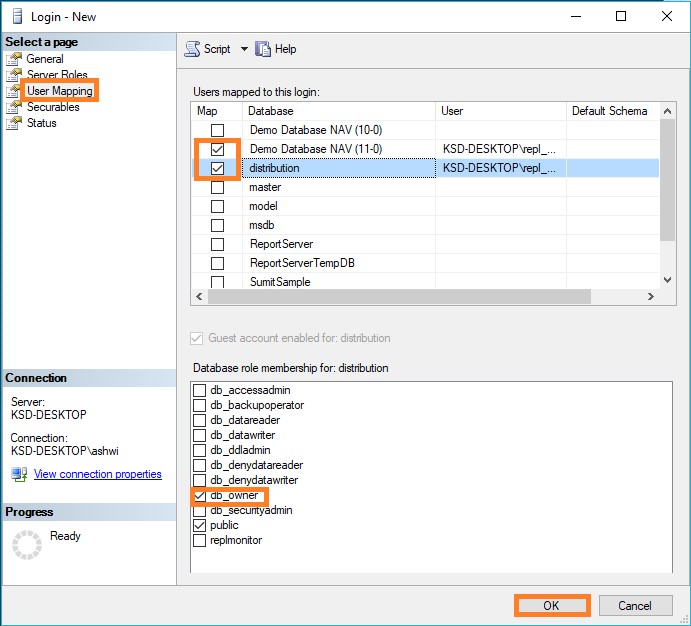
Setting database permissions at the Subscriber
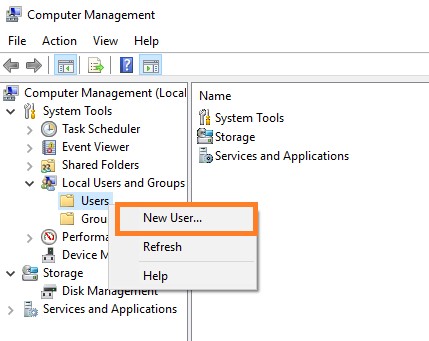
- Connect to the Subscriber in SQL Server Management Studio, expand Databases, Nav2018ReplDatabase, and Security, right-click Users, and then select New User.
- On the General page, in the User type list, select Windows user.
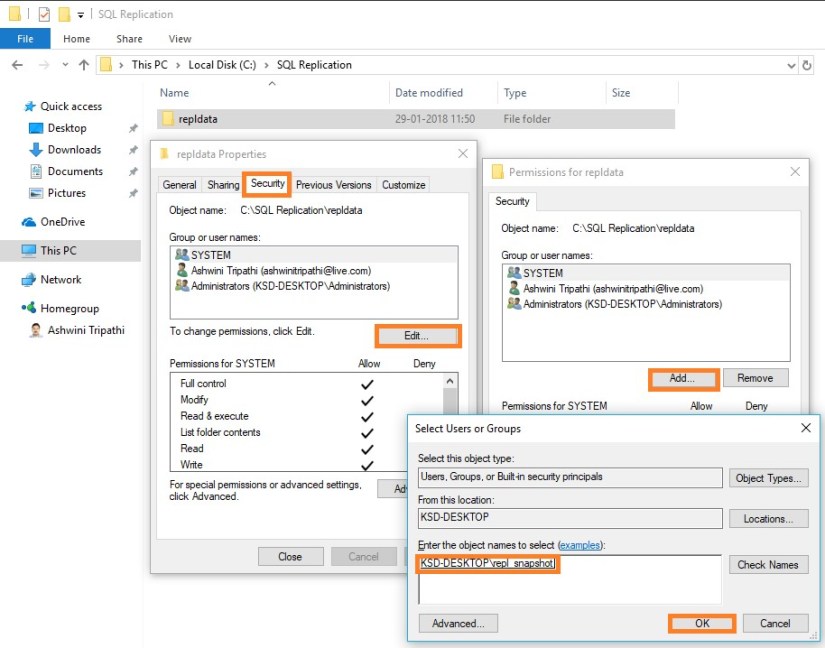
- Select the User name box and click the ellipsis (…) button, in the Enter the object name to select box type <Machine_Name>\repl_distribution, click Check Names, and then click OK.

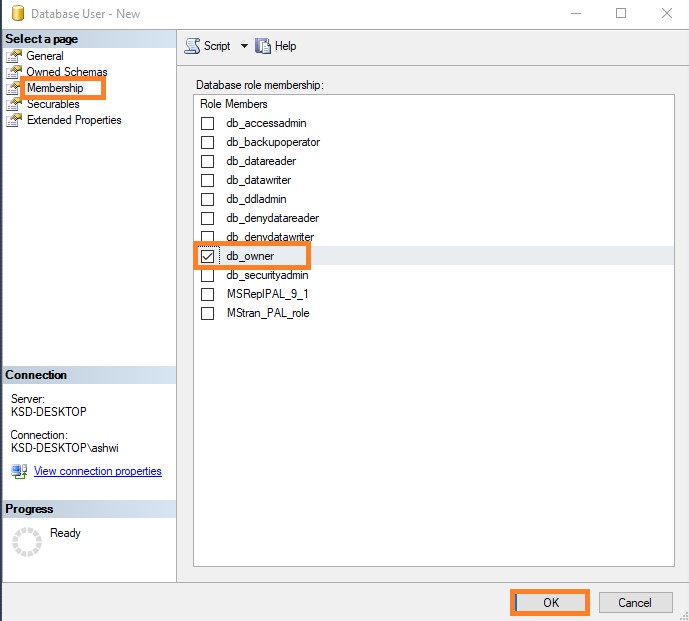
- On the Membership page, in Database role membership area, select db_owner, and then click OK to create the user.
When setting up SQL Server replication you might see an error message from the Transactional Replication Log Reader Agent which reads like the following.
Error messages:
- The process could not execute ‘sp_replcmds’ on ”. (Source: MSSQL_REPL, Error number: MSSQL_REPL20011) Get help: http://help/MSSQL_REPL20011
- Cannot execute as the database principal because the principal “dbo” does not exist, this type of principal cannot be impersonated, or you do not have permission. (Source: MSSQLServer, Error number: 15517) Get help: http://help/15517
- The process could not execute ‘sp_replcmds’ on ”. (Source: MSSQL_REPL, Error number: MSSQL_REPL22037) Get help: http://help/MSSQL_REPL22037
Often this error message can come from the database not having a valid owner, or the SQL Server is not being able to correctly identify the owner of the database.
Often this is easiest to fix by changing the database owner by using the sp_changedbowner system stored procedure as shown below. The sa account is a reliable account to use to change the ownership of the database to.
USE PublishedDatabase
GO
EXEC sp_changedbowner ‘sa’
GO
Once the database ownership has been changed the log reader will probably start working right away. If it doesn’t quickly restarting the log reader should resolve the problem.
While this does require changes to the production database, there is no outage required to make these changes.
To view the synchronization status of the subscription
- Connect to the Publisher in SQL Server Management Studio, expand the server node, and then expand the Replication folder.
- In the Local Publications folder, expand the Nav2018ItemTrans publication, right-click the subscription in the Nav2018ReplDatabase database, and then click View Synchronization Status.

The current synchronization status of the subscription is displayed.

- If the subscription is not visible under Nav2018ItemTrans, press F5 to refresh the list.
Validating the Subscription and Measuring Latency
We will use tracer tokens to verify that changes are being replicated to the Subscriber and to determine latency, the time it takes for a change made at the Publisher to appear to the Subscriber.
To insert a tracer token and view information on the token
- Connect to the Publisher in SQL Server Management Studio, expand the server node, right-click the Replication folder, and then click Launch Replication Monitor.
- Replication Monitor launches.
- Expand a Publisher group in the left pane, expand the Publisher instance, and then click the Nav2018ItemTrans publication.
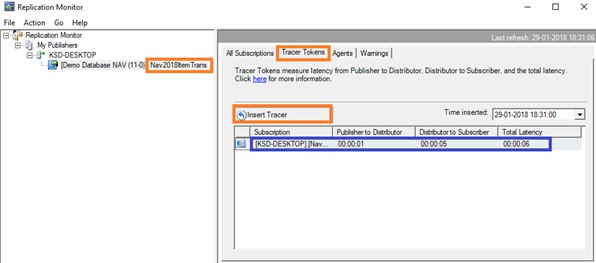
- Click the Tracer Tokens tab.
- Click Insert Tracer.
- View elapsed time for the tracer token in the following columns: Publisher to Distributor, Distributor to Subscriber, Total Latency. A value of Pending indicates that the token has not reached a given point.
This way we are done with Database Replication Setup.
Will come up with more topic soon.


You must be logged in to post a comment.