
This post is in continuation to my earlier post. Please check if you missed.
Database Replication – Part II
As committed in this post we will continue to cover practical approach, Next step from last post.
Configuring Distribution
We will configure distribution at the Publisher and set the required permissions on the publication and distribution databases. If you have already configured the Distributor, you must first disable publishing and distribution before you begin this process. Do not do this if you must retain an existing replication topology.
Configuring a Publisher with a remote Distributor is outside the scope of this Post.
If you have connected to SQL Server using localhost rather than the actual server name you will be prompted with a warning that SQL Server is unable to connect to server ‘localhost’. Click OK on the warning dialog. In the Connect to Server dialog change the Server name from localhost to the name of your server. Click Connect.
Configuring distribution at the Publisher
- Connect to the Publisher in SQL Server Management Studio, and then expand the server node.
- Right-click the Replication folder and click Configure Distribution.

- The Distribution Configuration Wizard launches.
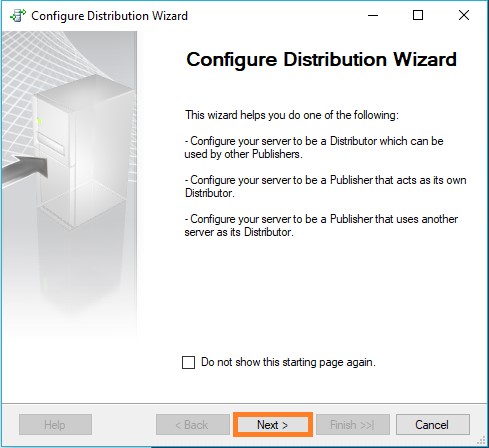
- On the Distributor page, select ‘ServerName’ will act as its own Distributor; SQL Server will create a distribution database and log, and then click **Next.

- If the SQL Server is not running, on the SQL ServerAgent Start page, select Yes, configure the SQL Server Agent service to start automatically. Click Next.
- Enter \\<Machine_Name>\repldata in the Snapshot folder text box, where <Machine_Name> is the name of the Publisher, and then click Next.

- Accept the default values on the remaining pages of the wizard.

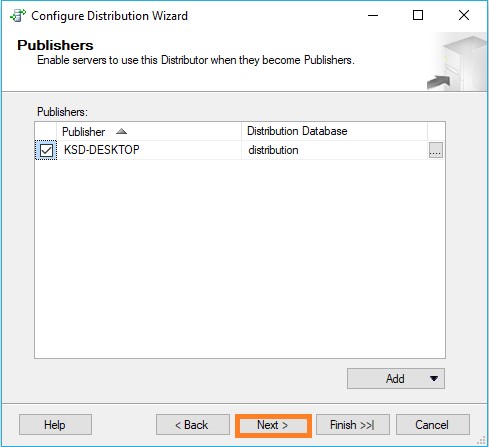


- Click Finish to enable distribution.

Setting database permissions at the Publisher
- In SQL Server Management Studio, expand Security, right-click Logins, and then select New Login.

- On the General page, click Search, enter <Machine_Name>\repl_snapshot in the Enter the object name to select box, where <Machine_Name> is the name of the local Publisher server, click Check Names, and then click OK.

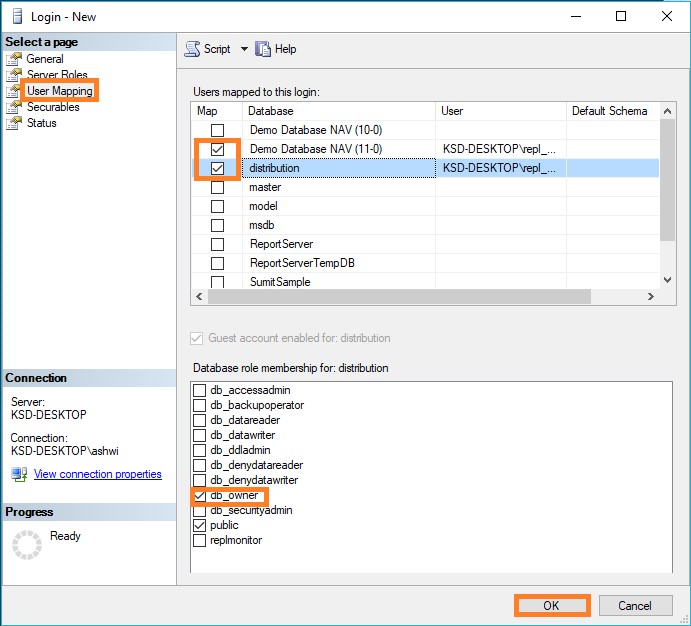
- On the User Mapping page, in the Users mapped to this login list select both the distribution and required database (in my case Nav 2018 database).
- In the Database role membership list select the db_owner role for the login for both databases.
- Click OK to create the login.
- Repeat steps 1-4 to create a login for the local repl_logreader account. This login must also be mapped to users that are members of the db_owner fixed database role in the distribution and required databases.
- Repeat steps 1-4 to create a login for the local repl_distribution account. This login must be mapped to a user that is a member of the db_owner fixed database role in the distribution database.
- Repeat steps 1-4 to create a login for the local repl_merge account. This login must have user mappings in the distribution and required databases.

Here we complete configuring our Distribution at Publisher.
We will see next step in our next post.

1 thought on “Database Replication – Part III”
Comments are closed.