
Integration with Business Central is done through Dataverse, and you will find lots of standard settings and tables that are provided by the integration.
This is the Third post in the series. If you want to go to previous post click here.
From the series of steps this post is dedicated to Step-2:
Before you start make sure you have below information ready with you:
- URL for the Dataverse environment (Dynamics 365 Sales) that you want to connect to
- The user’s name and password of an account that has administrator permissions in Business Central and Dataverse.
- The local currency for the company in Business Central must be the same as the base transaction currency in Dataverse.
As a second Step we will setup a Connection to Dynamics 365 Sales.
From Assisted Setup under Connect with other systems group choose Set up a connection to Dynamics 365 Sales, as shown below.

This Step is straight forward, you need to just respond to Next to each page of the Wizard.
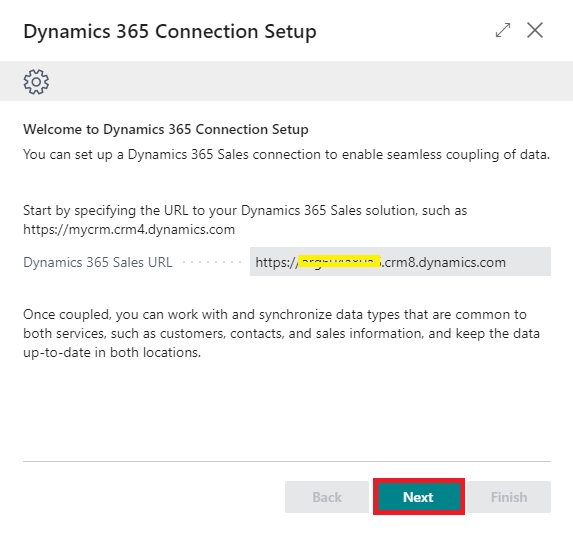
The URL will be same as used in previous step, while Connecting to Dataverse. Click Next.

Optionally, there are advanced settings that can enhance security and enable additional capabilities, such as sales order processing and viewing inventory levels. The following table describes the advanced settings.
Click Finish to complete the Setup.
Next open the Dynamics 365 Connection Setup from TellMe.

Select Connection -> Test Connection

If everything is ok it should show Connection test Successful message.
Go to Dataverse Connection Setup, from Integration -> Integration Solutions
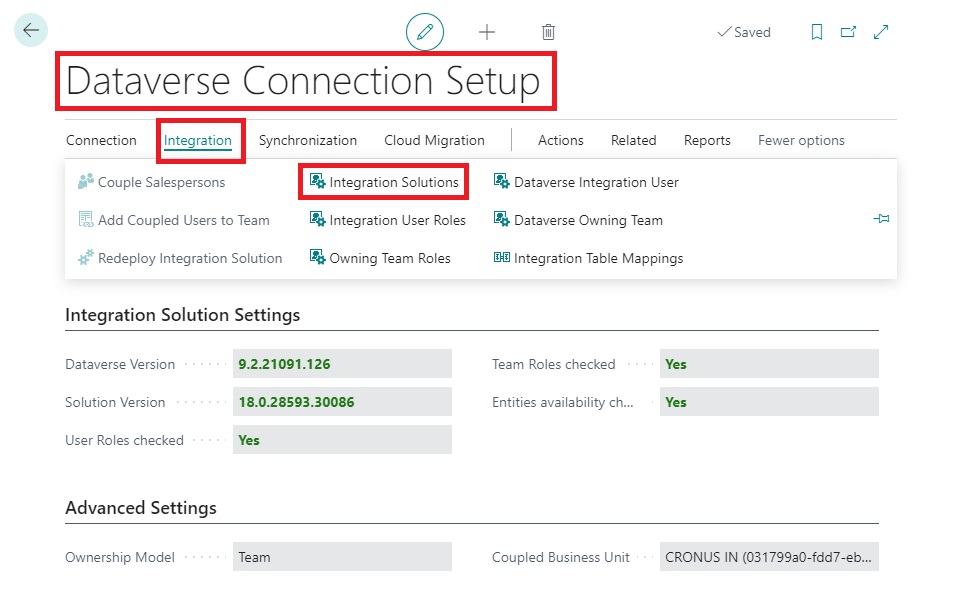
It will list you the solutions deployed.

Same you can find in Dynamics 365 Sales -> Settings -> Solutions

For more details you can have a look to Microsoft docs
Integrating with Dynamics 365 Sales
Now you are good to proceed with Next Step.
You can jump to Next Step from here.


You must be logged in to post a comment.