

This is the Fifth post in the series. If you want to go to previous post click here.
From the series of steps this post is dedicated to Step-4:
As a fourth Step we will Create New Table(s) in Dataverse, below is the structure of the table.
This table will be used to Sync Data between Business Central and Dataverse.

Define all required columns. Same as we have done in Business Central, in previous post.
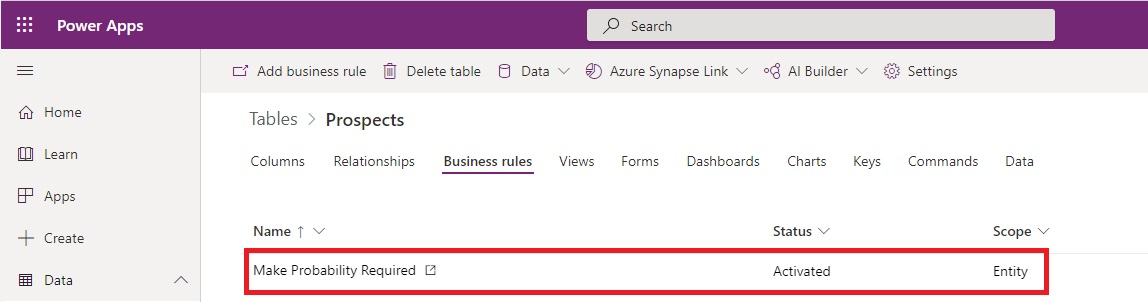
Next we will define Business Rule, This will make Probability field as mandatory.


See the properties of each component.
Sample data for the table.

If you are not comfortable with creating table in Power Apps environment, I will add one post step wise step how this table was created and data was uploaded in this table. Once this series is completed, will provide link to that post here.
Now you are good to proceed with Next Step.
You can jump to Next Step from here.

11 thoughts on “Create Custom table in Dataverse/ Power Apps”
Comments are closed.