Tip & Tricks

Integrating Dynamics NAV 2016 with CRM Online

Helpful blog for Integrating Dynamics NAV 2016 with CRM Online

Please see this post may help you in getting your task done.

Suvidha Shashikumar's avatarCode. Prompt. Automate. — The Age of AI Agents

Hi, In this post I would like to explain the initial setup required and steps for integrating Dynamics NAV 2016 and CRM Online. This enables you to integrate and synchronize data in Microsoft Dynamics CRM entities such as accounts, contacts, and products, with equivalent record types in Microsoft Dynamics NAV such as customers, contacts, and items, respectively.

NAV 2016 and CRM integration

Dynamics NAV 2016 has a default integration setup which can be used to enable this integration. NAV 2016 includes new objects to support this integration.

View original post 849 more words

PivotTable, PowerBI.com, PowerPivot, Tip & Tricks

Microsoft Power BI – Part X

Continuing from my previous post. Today we will downloading the dataset into Excel from Power BI Online for analysis.

In case you have missed my previous posts here I present the link to all previous posts below.


Microsoft Power BI – Part – I

Introduction to Power BI and Creating Report from Excel Data, Local Files.

Microsoft Power BI – Part – II

Introduction to few Features of Power BI

Microsoft Power BI – Part – III

Power BI Desktop, Creating Dataset & Reports from In Premise Database installation

Microsoft Power BI – Part – IV

Power BI Gateway usage

Microsoft Power BI – Part – V

Scheduling Refresh of Dataset & Report created using In Premise Database

Microsoft Power BI – Part – VI

Power BI Content Pack

Microsoft Power BI – Part – VII

Power BI Mobile App

Microsoft Power BI – Part – VIII

Power BI Content Pack

Microsoft Power BI – Part – IX

Power BI Publisher for Excel


Login to Power BI using your credentials.

PowerBI-111

Select the Dataset which you wish to analyse, click the three dots on right and from appearing menu choose ANALYZE IN EXCEL.

PowerBI-112

You will be prompted for Analyse in Excel (preview). If you are running first time please install it.

At the same time you will be prompted for (.odc) MS Office Data Connection file to save/open.

Save and then open the File in Excel.

PowerBI-113

On opening the file you will be prompted for security concern Enable to allow it.

PowerBI-114

You will be able to see Pivot Table Fields, containing all of the Tables available in the Dataset.

PowerBI-115

Now you can play with your data to analyse and create Pivot, Charts and share with others or you can Pin back your result to Power BI Dashboards using concept we used in our previous post.


That’s all for today, I will come up with more features in my future posts.

Till then keep practicing & Learning.


PowerBI.com, Tip & Tricks

Microsoft Power BI – Part IX

Continuing from my previous post. Today we will see usage of Power BI Publisher for Excel.

In case you have missed my previous posts here I present the link to all previous posts below.

Microsoft Power BI – Part – I

Introduction to Power BI and Creating Report from Excel Data, Local Files.

Microsoft Power BI – Part – II

Introduction to few Features of Power BI

Microsoft Power BI – Part – III

Power BI Desktop, Creating Dataset & Reports from In Premise Database installation

Microsoft Power BI – Part – IV

Power BI Gateway usage

Microsoft Power BI – Part – V

Scheduling Refresh of Dataset & Report created using In Premise Database

Microsoft Power BI – Part – VI

Power BI Content Pack

Microsoft Power BI – Part – VII

Power BI Mobile App

Microsoft Power BI – Part – VIII

Power BI Content Pack

Sharing key Excel insights just got easier. Save snapshots of important PivotTables, Charts, cell ranges, and more from across all of your spreadsheets to a single location quickly with the Power BI publisher for Excel. Simply highlight the elements you want to save, then click the “Pin to” button: now you’ve got a powerful web dashboard that you can share with everyone in your organization.

Let us see how we can use this feature.

Login to Power BI with your credentials.

PowerBI-95

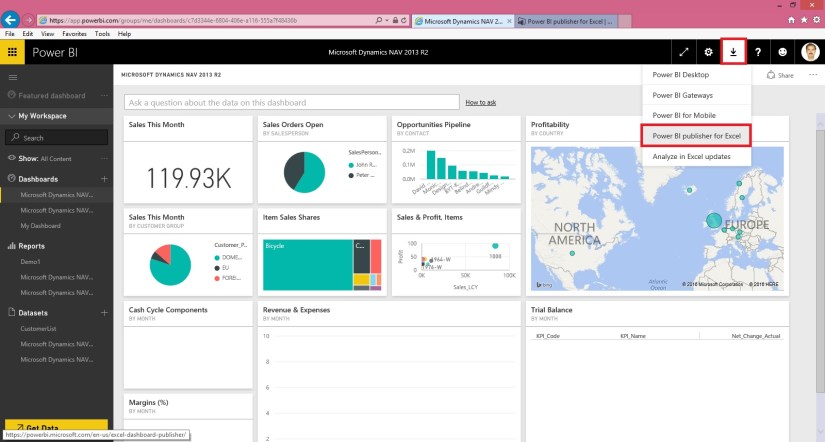
From Download Menu Section choose Power BI Publisher for Excel.

Or visit Link: https://powerbi.microsoft.com/en-us/excel-dashboard-publisher/

PowerBI-96

Select your desired Excel Version 32 or 64 bit as installed on your PC and download the Package.

Close your Excel and Install the Package and follow on screen guide.

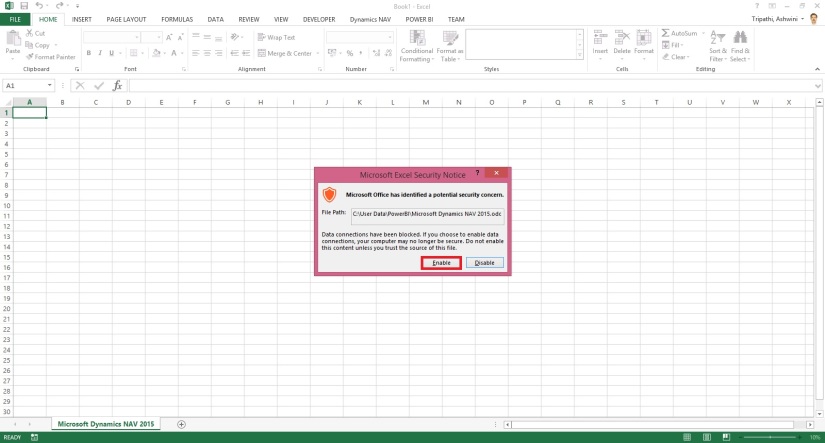
After Installation when you open your Excel First time after Installing the Package. You will get similar to below screen.

PowerBI-97

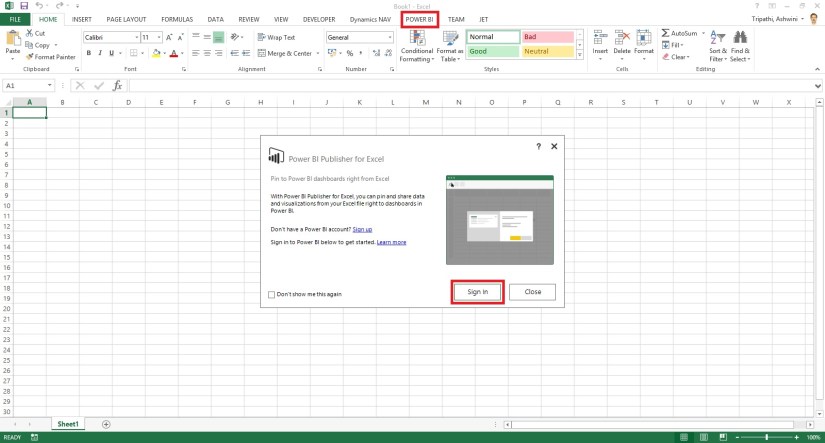
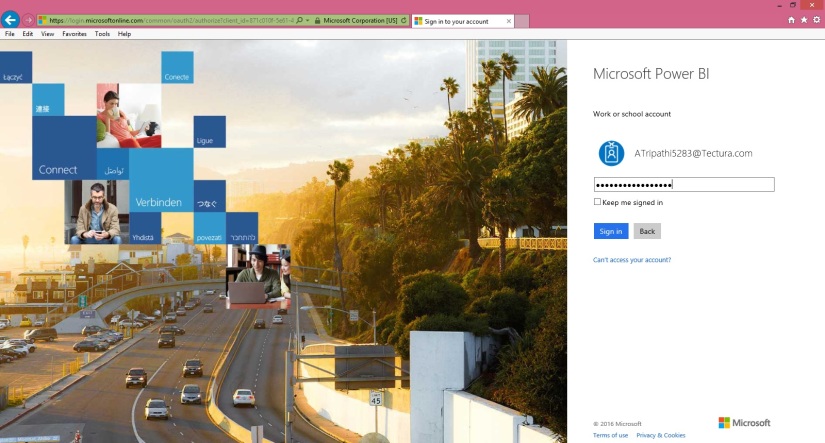
Sign in with your Power BI Credentials.

PowerBI-98


PowerBI-99


PowerBI-100

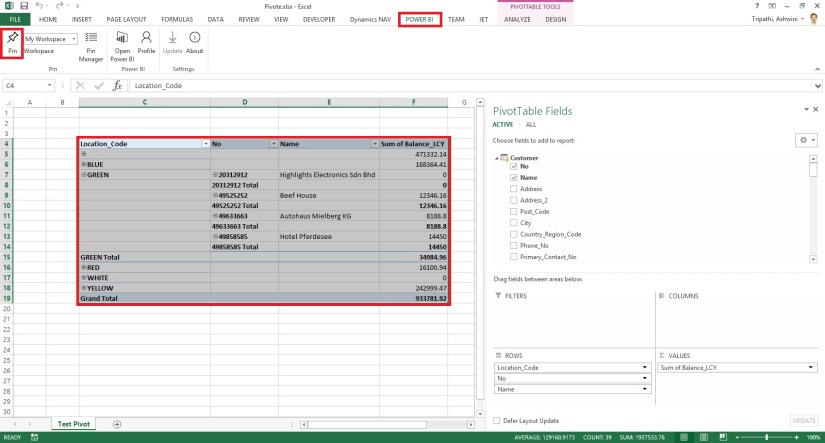
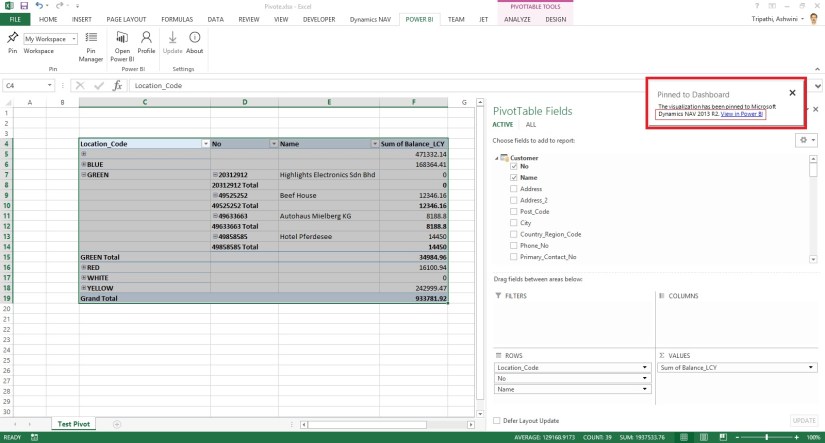
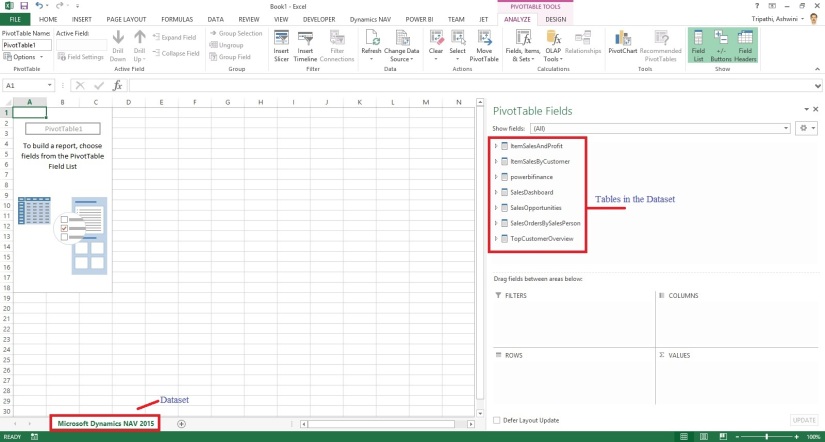
I have created a Pivot in excel as below which I want to share on my Desktop.

PowerBI-101

Select the Region/Range that you wish to publish from Power BI choose Pin, as shown below.

PowerBI-102

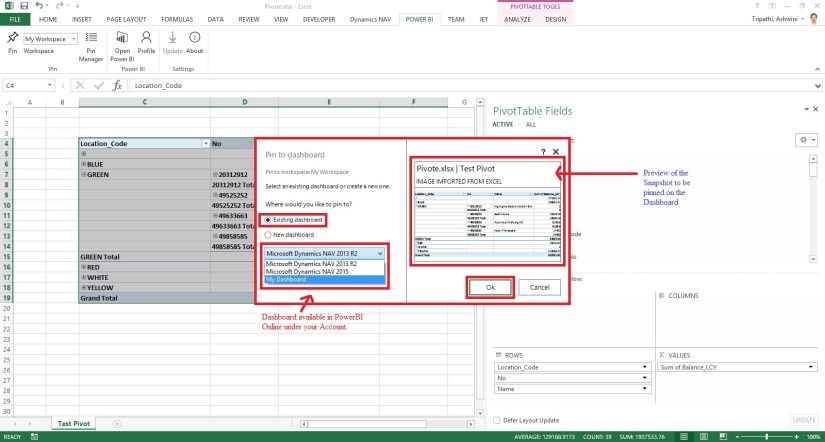
In my case I have already pined so confirmation Dialog Box is taken else it will Pin the Selected Range as a snapshot on selected Workspace.

PowerBI-103

Make sure you select right Workspace before you Pin.

PowerBI-104

After Publishing you will get confirmation as below.

PowerBI-105

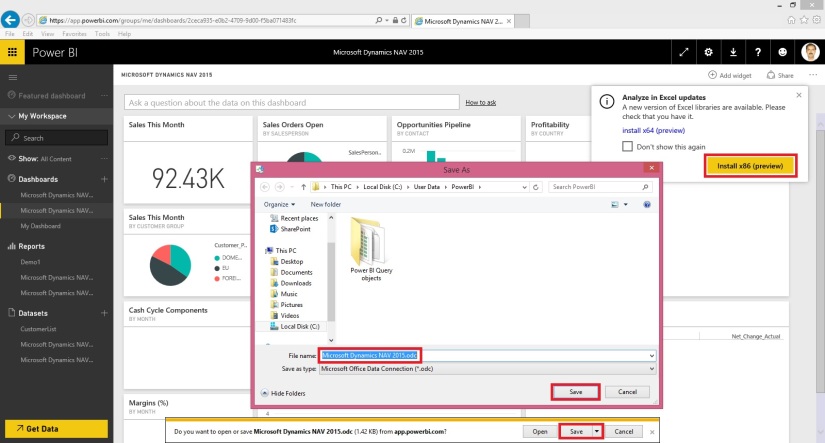
Using the Link, Login with your credentials to the Power BI and switch to the Dashboard on which you published.

PowerBI-106

This way you can Pin Snapshot of PivotTables, Charts, cell ranges, and more. You can update existing with new one and manage all your Pins.

PowerBI-107

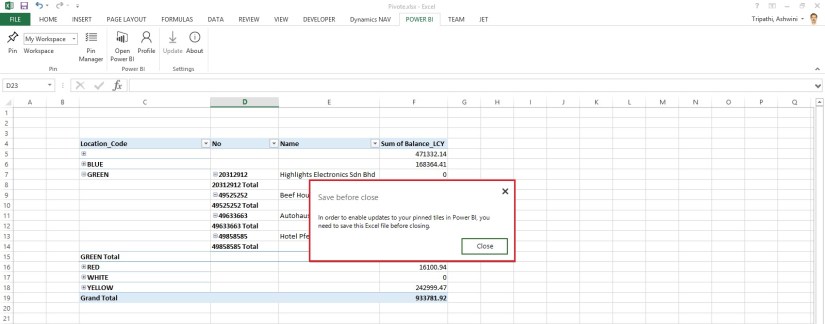
Save your Excel and Exit.

PowerBI-108

Try useful feature.

I will come up with more details in my future posts.

Till then keep practicing and learning using online Blogs, help and documents.

Jet Reports, Tip & Tricks

Leveraging Business Intelligence for Ad Hoc Analysis

Leveraging Business Intelligence for Ad Hoc Analysis

Video-1


Video-2


PowerBI.com, Tip & Tricks

Microsoft Power BI – Part VIII

Continuing from my previous post. Today we will see usage of Power Content Pack to Refresh in Premise Navision Installation using Personnel Gateway.

Please see my previous post it will help you in continuing with this Walkthrough.

In case you have missed here I present the link to all previous posts here below.

Microsoft Power BI – Part – I

Introduction to Power BI and Creating Report from Excel Data, Local Files.

Microsoft Power BI – Part – II

Introduction to few Features of Power BI

Microsoft Power BI – Part – III

Power BI Desktop, Creating Dataset & Reports from In Premise Database installation

Microsoft Power BI – Part – IV

Power BI Gateway usage

Microsoft Power BI – Part – V

Scheduling Refresh of Dataset & Report created using In Premise Database

Microsoft Power BI – Part – VI

Power BI Content Pack

Microsoft Power BI – Part – VII

Power BI Mobile App

Step -1

Check your Service is up & running, here we are not going to use SLL in fact Personnel Gateway.

PowerBI-86

Step -2

Make sure you Imported your Query Objects required for Power BI Dynamics Nav Content Pack. If you are not using NAV-2016, in my case I am using NAV-2015 for this Walkthrough.

PowerBI-87

Step -3

Make sure your Web Services are published.

PowerBI-88

Step -4

You have installed the Power BI Gateway – Personal and Login to it using your Credentials.

PowerBI-89

Step – 5

Login to PowerBI using your Credentials and choose Get Data from Bottom Left Corner in your Navigation Bar.

PowerBI-90

Step – 6

Connect Your Service using MS Dynamics Content Pack.

PowerBI-91

PowerBI-92

Notice here I am not using https:// also remove any ‘/’ and Service name from the URL.

PowerBI-93

Set your Authentication Mode and Sign In.

PowerBI-94

It will take some moment and your Dataset, Report & Dashboard will be available to you.

Graphical representation and data may vary depending upon data in your database.

We are done.

For further detail on any step you can refer previous posts for any clarifications, Links provided above.

Will come up with more details in my upcoming posts.

Till then keep trying and practicing.


Jet Reports

BI Advantage (“Reporting” and “Cubes”) Jet Reports

“Reporting” and “Cubes”: The Best of Both Worlds
Video-1

Video-2

Jet Reports

BI Advantage (Reporting to Business Intelligence) Jet Reports

Graduating from Reporting to Business Intelligence

Video-1

Video-2