As everyone is aware by now that Preview of Development Tools for Dynamics NAV have been released. Going forward which can be used to build extensions and apps in and for Dynamics NAV.
This tool introduces two flavors which you can try out in preview available on cloud.
[A] Make an extension in the client itself. Business consultants and UX designers will love using this drag-and-drop interface. Rearrange fields, rename groups, and reposition elements to build a perfect extension to support an industry-specific solution or implement a business process optimization.
[B] Use the AL Extension for NAV in Visual Studio Code to build powerful extensions based on tables, pages, and codeunits using the new objects: Page Extensions and Table Extensions. Follow this route to build rich extensions that reuse and extend core business logic in your application.
For more details you can refer to the article published by Dynamics NAV Team Announcing the Preview of Development Tools for Dynamics NAV
You can get a free 30-day trial from https://azure.microsoft.com/free/ that will give you access to everything you need.
Secondly, head over to http://aka.ms/navdeveloperpreview. Login to your Azure Subscription. Select your subscription, resource group, location, name, and a VM Admin Password. Leave the remaining fields as their defaults. Accept the terms, Pin to dashboard and select Purchase. The instance takes about 5 minutes to set up, and the VM will be ready about 15 minutes after Azure says Deployment Succeeded.
You need to follow on screen instructions to get everything setup using above 2 links provided.
I am not going to repeat the steps as you can find them via other blogs or follow the steps as you proceed via using above two links.
Few of my readers were complaining about they don’t have access to Azure Subscription or they have already used up the limit now what to do?
Same situation was with me too, but however I managed to get one and done bit RND, if this can be setup on my PC so that I can give it a try or others can use same steps to get it configured, and give it a try.
However I got succeeded in doing so, now I can do the same in my environment.
The Steps I am going to explain below is not the straight forward, and require bit tricks, as required components are yet not released from Microsoft, may we can get in CU-2, I guess or later when Microsoft is OK to release this feature for everyone.
This action will require several pre-requisite to be fulfilled:
- Visual Studio Code (To be Installed)
- Dynamics Navision Version (10.0.14540)
- Some Modification to web.config to enable designer in Web Client
STEP-1
You can download the Visual Studio Code from this link: Click Here
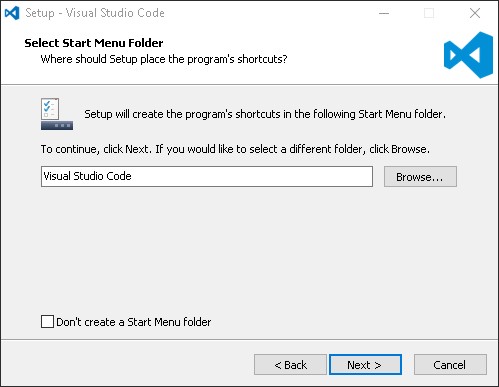
Once file is downloaded install the Visual Studio Code by running VSCodeSetup-1.8.1.exe
And follow the on screen instructions to complete the setup.


STEP-2
Dynamics Navision Version
Make sure you have correct version of Dynamics Navision (10.0.14540)

Else you will not get this option in your Service Window

STEP-3
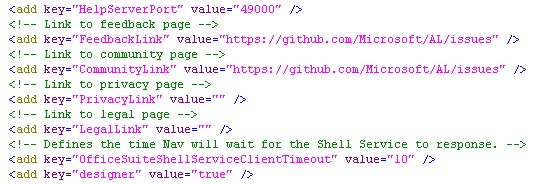
Modification to web.config
You will need to make necessary settings to web.config file to enable designer in Web Client, this file is located at C:\inetpub\wwwroot\DynamicsNAV100 location where your Web Client is installed.

Now you should be ok to use this feature in your environment.
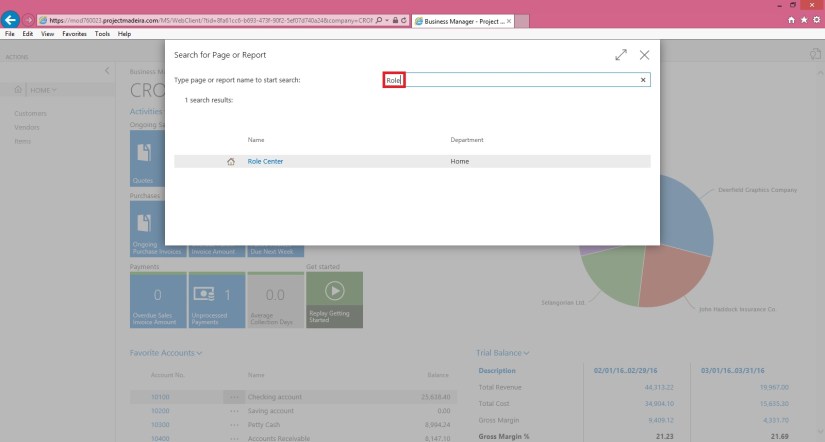
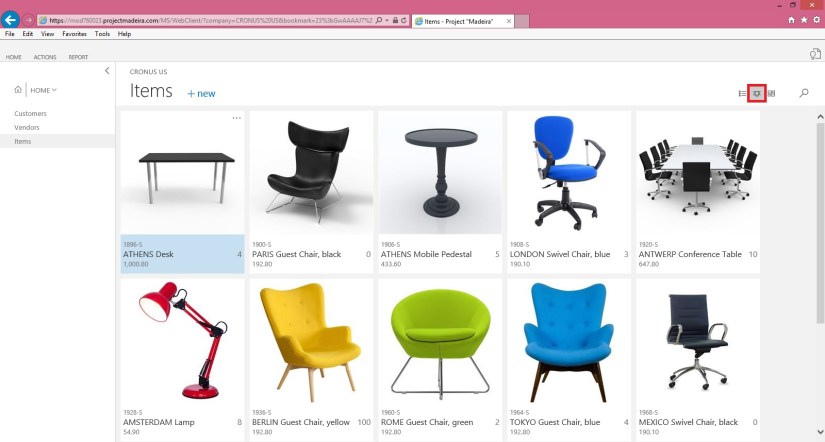
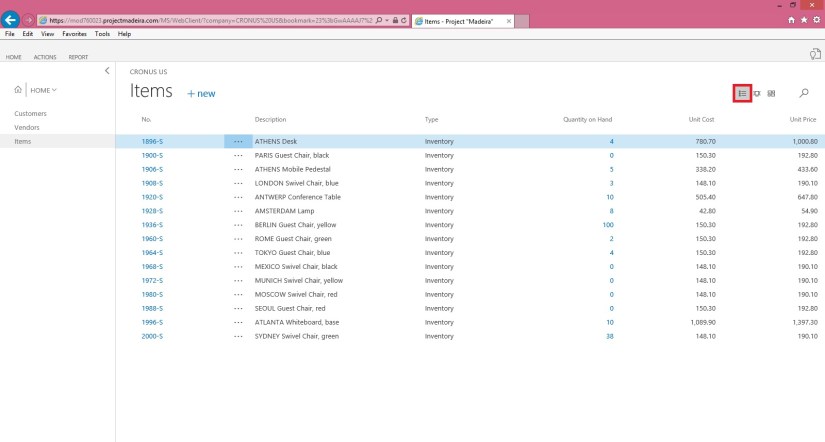
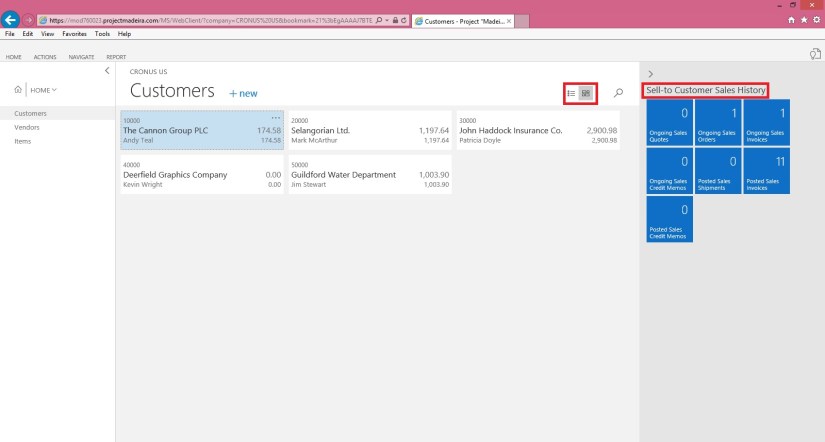
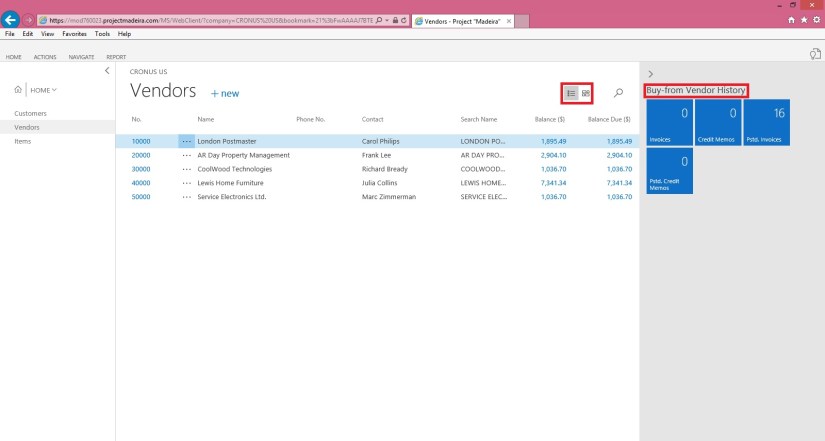
Once things are setup correct you will be able to find the Client Designer Button on right top corner of the Client Window/Browser.
I will come up with more details in my up-coming posts till then keep exploring and learning.


You must be logged in to post a comment.