How To, Information, Instalation & Configuration, Maderia, Tip & Tricks

Assisted Setup – Madeira

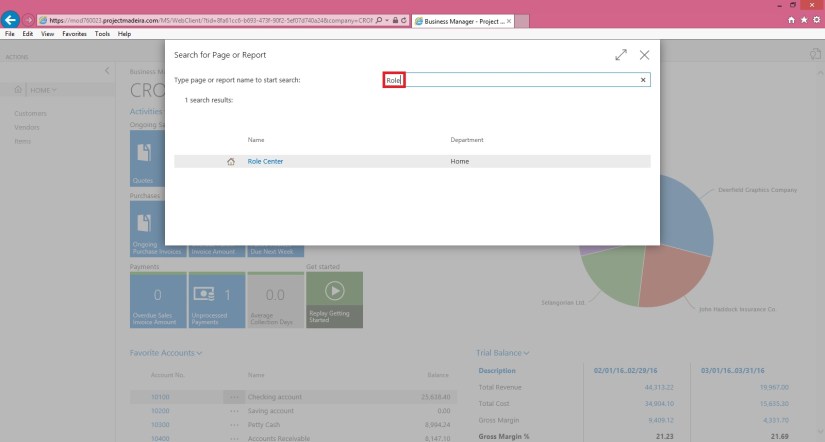
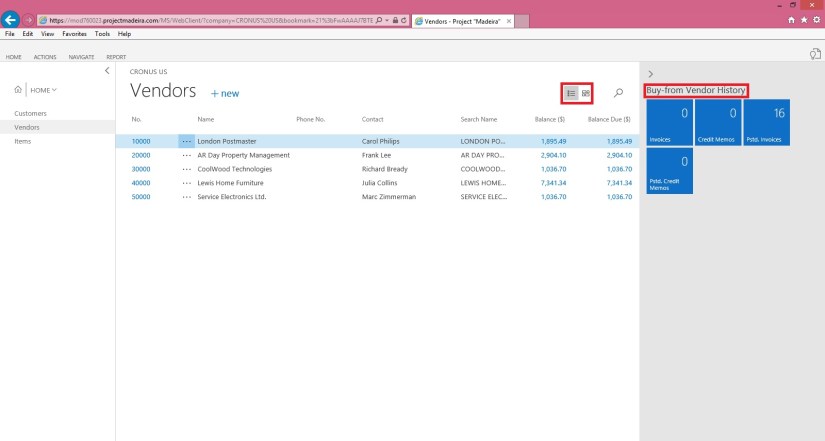
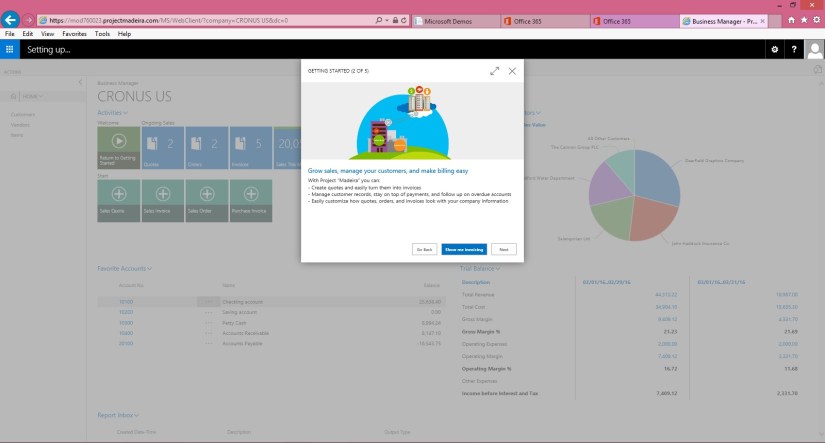
When you want to explore Project “Madeira” on your own, you can always go back to the Getting Started tour. See in cubes area marked.

AssistSetup-1

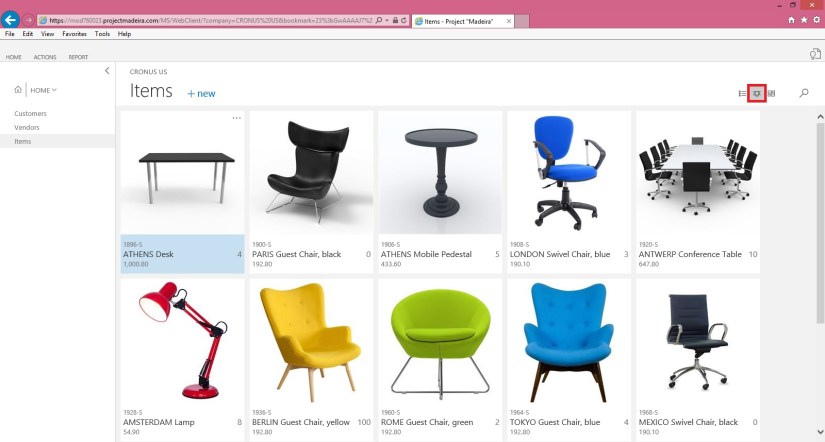
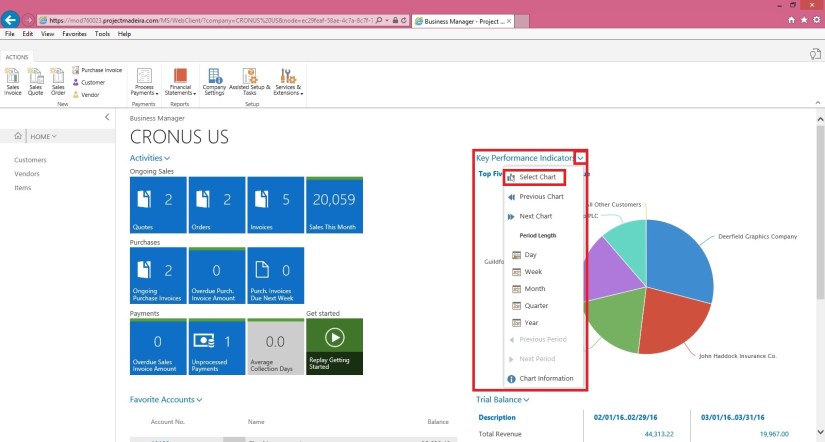
At Home page you will find the Assisted Setup & Tasks action. See in Ribbon marked in above screen.

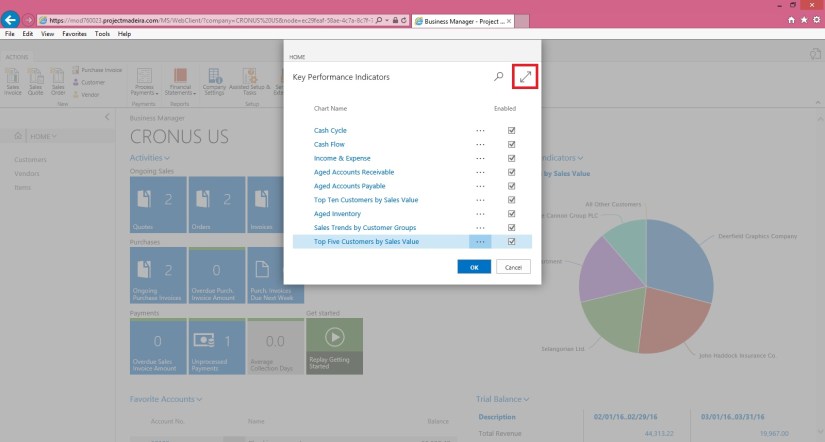
Here you see a list of assisted setup that can help you getting started.

AssistSetup-2

You can migrate data such as vendors, customers, and items from your existing financial system using the Migrate Business Data assisted setup. Once you are done with this piece you are good to go ahead exploring more.

Depending on your need, check if the other assisted setup can help you in any manner.

In the Assisted Setup window, you will find the followings:


ASSISTED SETUP

Set Up Company: – Creates a new trial company for you to enter data and try out Project “Madeira”. If you went through the Getting Started tour this step is probably already completed.

Migrate Business Data: – Lets you import your existing company data such as vendors, customers, and items from Excel or QuickBooks.

Set up Sales Tax: – Gets you started with default tax groups and assigning tax area codes that you can assign to customers and vendors in order to automatically calculate sales tax in sales or purchase documents.

Set up Email: – Gets you ready for sending email messages directly from sales orders or contacts in Project “Madeira”.

Set up Office Add-Ins: – Sets up the ability to use and launch Project “Madeira” from Outlook.

Set up Email Logging: – Sets up the capability to log email correspondence in Project “Madeira” to follow up on interactions.


Will come up with more details in my upcoming posts.

Till then keep exploring and learning.


Announcement, Information, Maderia, Tip & Tricks

Enterprise Software Podcast Episode 43

You may be having lots of query on Madeira what is it, why this release,  what Microsoft planning from this release and many more.

Listen this podcast on Madeira to have answer to few of them.

Remain tuned and keep exploring for more details.

http://www.enterprisesoftwarepodcast.com/enterprise-software-podcast-episode-43-envisioning-madeira/

Maderia, Office Integration, Tip & Tricks

Madeira – Look & Feel – Part-I

Hi Friends I am providing this Blog to my readers who are yet not able to give try to the Project Madeira First Preview. But wish to have the Look and feel how it looks.

Today I will be showing few Look & Feel changes. Up till Now only Preview is available we need to wait for some more time to hear more about the product and features.

How ever below I am presenting few details, Login to the Project Madeira using your credentials provided while Setup.

Preview-1

Here is the Landing Screen which you get post Logging in to Madeira.

Top right corner is the Search,  that we usually use to search pages.

Preview-2

Here you type the Page you wish to switch to, in my example I am trying to search Role Center Page. It will be similar to one below screen shot.

Preview-3

If you click on action Tab it will show you the ribbon having actions available on Page. You can hide it to gain more space on screen by clicking on ^ at the bottom right corner of the Ribbon Tab.

Preview-4

Lets have a Look on Item List, you have 3 View available as below

  1. Large Picture Card View

Preview-5

2. Small Picture Card View

Preview-6

3. Simple List view as usually we have in earlier Versions.

Preview-7

Let’s have a view of Customers List Page. On the right side you can see History Card Fact Box in form of Cues.

Preview-8

Here is the Vendor List Page. On the right side you can see History Card Fact Box in form of Cues.

Preview-8

Here is the Page search when you click on Magnifying search it will provide you the text box to enter you search, I am trying to search Items containing lo in its Name/ Description.

Preview-9

Click on Home to see Drop Menu to select sub Items defined under it. You can Minimize the same clicking on ^. This is available on almost all Pages and Ribbons to hide unwanted information to gain more space on Screen to view only required information. Some places it acts as hiding the Tab where as other places it serves as showing Sub-Menus.

Preview-10

Here is the example of Sub-Menu.

Preview-12


Preview-13


Preview-14

This is how Page appears you select from Sub-Menu.

On Page at Right Top corner arrow are used to Minimize or Maximize the page.

Preview-15

View of above Page in Maximized form.

Preview-16

You can use Menu on Page to send data to Excel.

Preview-17

Preview-18

Here is how line action menu is shown.

Preview-19

Below is the Matrix Page type View.

Preview-20

Picture Card Menu. Now on Pages Information and divided in respective small pages.

Preview-21


I will come up with more Look and Feel of New Project Madeira.

Till then keep exploring and Learning. You can find more information on other Blogs too.

However official Blog for same is : https://madeira.microsoft.com/en-us/blog/welcome-to-project-madeira/


Information, Instalation & Configuration, Maderia, Tip & Tricks

Configure Demo Madeira for Preview

Today I got chance to get Installed & Configured Madeira Demo.

The first thing that you need to ensure is you have Microsoft Partner Network, you can take help of Admin in your organization to get this done in case yet you don’t have.

Once you have sign in information ready visit the page : https://demos.microsoft.com/login#/

You will be taken to the landing page as in below screen.

Maderia2

Select Microsoft Partner Login and sign in using your Live ID and password credentials

Maderia2

From Navigation bar left on Screen choose Tenant. You have option to add up to 6 Maximum tenants. From right screen click on blue ‘ + ‘ written Create.

Maderia2

From Create a New Tenant choose ‘Quick Tenant’.

Maderia2

In Select Tenant Type choose first ‘Select Office 365 Demo Content’ and choose Next.

Maderia2

From Add Ons select ‘Add Project Online demo data’ and choose Next.

Maderia2

From Create Quick Tenant choose Finish to continue.

Maderia2

On completion your Tenant will be shown.

Note the Tenant Id, User Id & Password  this will be required in following steps.

Maderia2

From Microsoft Demo Screen from left Navigation bar choose Demos.

From ‘My Demos’ click button Create New Demo.

Maderia2

Give meaningful Name to you Demo

Select the Tenant  Id.

Select the Templates you want to Add to your Demo.

Click on ‘Create Demo’ Button.

Maderia2

If you have select more than one Templates you may get screen to confirm Merge Order in your Demo.

Click on ‘Update Demo’ Button once you are done setting the Order.

Maderia2

Your Demo is Created in my case I have name it TestDemo.

Open the Office 365 Portal using Link : http://portal.office.com

Maderia2

Login with the credentials we noted in above step while creating the Tenant.

Maderia2

Open Madeira Website https://madeira.microsoft.com/en-us/

Maderia2

Choose Try the Preview.

Maderia2

Sign up using the User Id we obtained in above step.

Maderia2

Choose Start to continue.

Maderia2

Now you will get Project Madeira Icon along with other Office Icons.

Maderia2

Choose Get Started Button on Welcome Screen to continue.

Maderia2

If you wish can See the Tour or can skip at this point and can review Later. To continue select Next.

Maderia2

If you wish can See the Tour or can skip at this point and can review Later. To continue select Next.

Maderia2

If you wish can See the Tour or can skip at this point and can review Later. To continue select Next.

Maderia2

If you wish can See the Tour or can skip at this point and can review Later. To continue select Setup In Outlook.

Maderia2

Provide User Id & Password we obtained in above step.

Select OK to continue.

Maderia2

On confirmation window say OK.

Maderia2

Select Next to continue to next step.

Maderia2

Note the Activation Code provided on this screen you will require to activate Office.

Maderia2

We are Done. Choose Done to close the Welcome Wizard.

You will be landed to your Home Page of Madeira.

Maderia30

You are done now look around the new Look and feel of this product.

During this process you will receive several Mail Notification you can check same using Notification or open your Outlook account from the office 365 screen.

I will come up with more in my next post till then explore and keep learning.


Maderia, PowerBI.com, Tip & Tricks

Project “Madeira” content pack for Power BI

Maderia1

Getting insights into your Project “Madeira” data is easy with the Project “Madeira” content pack for Power BI. Power BI retrieves your data and then builds an out-of-the-box dashboard and reports based on that data. This blog post announces the availability of the Project “Madeira” content pack for Power BI.

Check out this Link.

The content pack is preconfigured to work with sales data and financial data from the demonstration company that you get when you sign up for the Project “Madeira” preview. – Choose any visual on the dashboard to bring up one of seven underlying reports. – Filter the report or add fields that you want to monitor. – Pin this customized view to the dashboard to continue tracking. The dashboard and underlying reports refresh daily. You can control the refresh schedule and modify the frequency on the dataset.

The data is extracted from your Project “Madeira” company using web services to read live data. In Project “Madeira”, the Web Services window lists the web services that have been set up for you, including the following that are consumed by the content pack in Power BI:

  • ItemSalesAndProfit
  • ItemSalesByCustomer
  • powerbifinance
  • SalesDashboard
  • SalesOpportunities
  • SalesOrdersBySalesPerson
  • TopCustomerOverview


Maderia, Tip & Tricks

WHAT IS PROJECT MADEIRA?

Maderia1

Project “Madeira” offers an embedded experience within Office 365 so you can create customers, vendors, quotes, and invoices without leaving Outlook.

Project “Madeira” is a business management solution for small and mid-sized organizations that automates and streamlines business processes and helps you manage your business.

Want to know more? Follow this Link.

Key scenarios to try out on your own:

System Requirements:

Safari: Project “Madeira” is designed to work with the current version of Safari on OSX.

Microsoft Edge: Project “Madeira” is designed to work with the current version of Microsoft Edge.

Internet Explorer: Project “Madeira” is designed to work with Internet Explorer 11 and Internet Explorer 10.

For detailed list see this Link.

If you do not use an Office 365 email account, you must specify technical information about your mail server.

Checkout more here.


Maderia

Microsoft is readying new releases of its Dynamics NAV, GP and SL ERP 

Microsoft is readying new releases of its Dynamics NAV, GP and SL ERP 

For more details see this link :

http://www.zdnet.com/article/whats-next-for-microsofts-other-three-erp-suites/

Maderia

Project Madeira Windows App

Start your preview of Project “Madeira” to see how easy it is to manage your sales, finances, billing, purchasing, and inventory — all without leaving Outlook. This Project “Madeira” for Windows app extends the experience to your mobile and touch-enabled devices for productivity on the go.

For more details please see this link :

https://www.microsoft.com/en-us/store/apps/app/9nblggh4ql79?tduid=(df96aa0d96d7435e356e38062fa93c22)(256380)(2459594)(TnL5HPStwNw-cG8ugVBRh.7yMQdCE7yE7g)()