Business Central, Business Central Dataverse Integration, Business Central Integration Business Central to Common Data Service, Dataverse, Dynamics 365 Sales, Integration, Organization, Permission, Power Apps, Roles, Security, Synchronize

Check & Assign Permissions in Power Apps Environment

This is the Eleventh post in the series. If you want to go to previous post click here.

From the series of steps this post is dedicated to Step-10:

As a Tenth Step we will Verify & Assign Permissions in Power Apps Environment.

This is the final Step, and we will be done with the goal we set in our first post of this series.

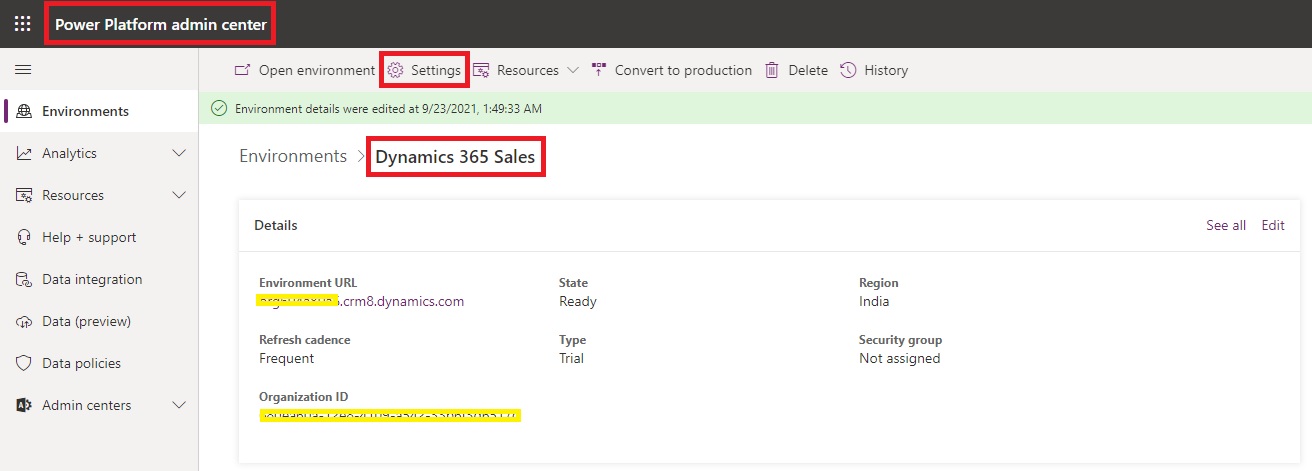
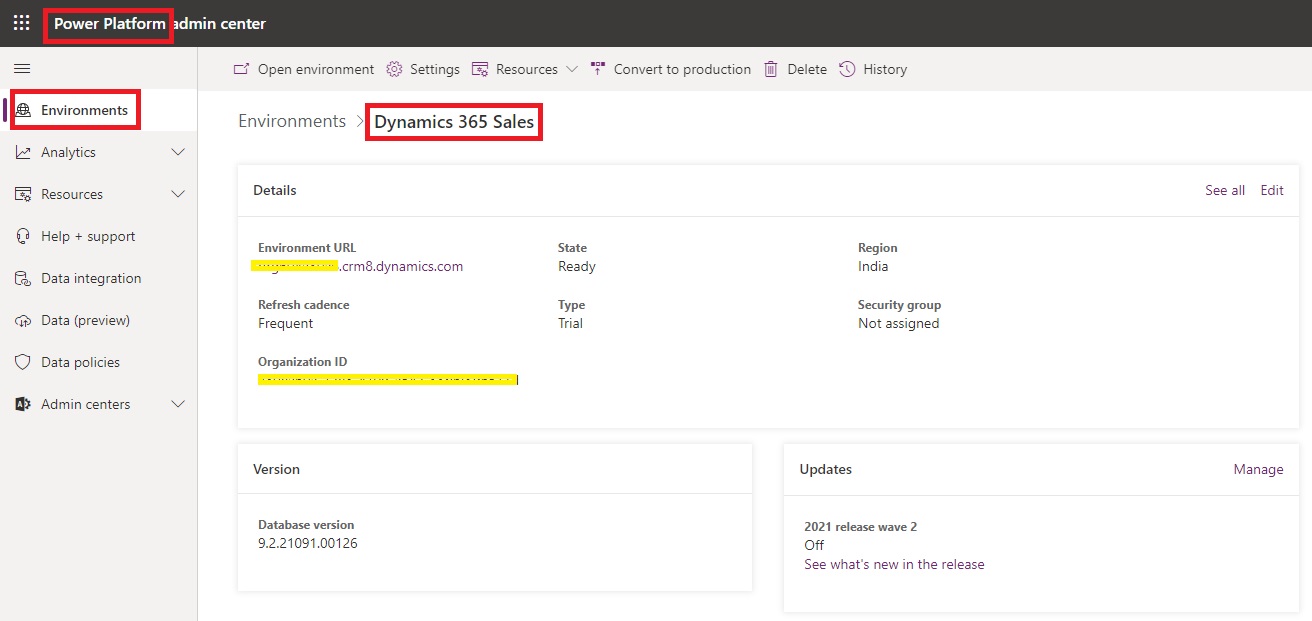
Open your Dynamics 365 Sales Environment and Go To Settings.

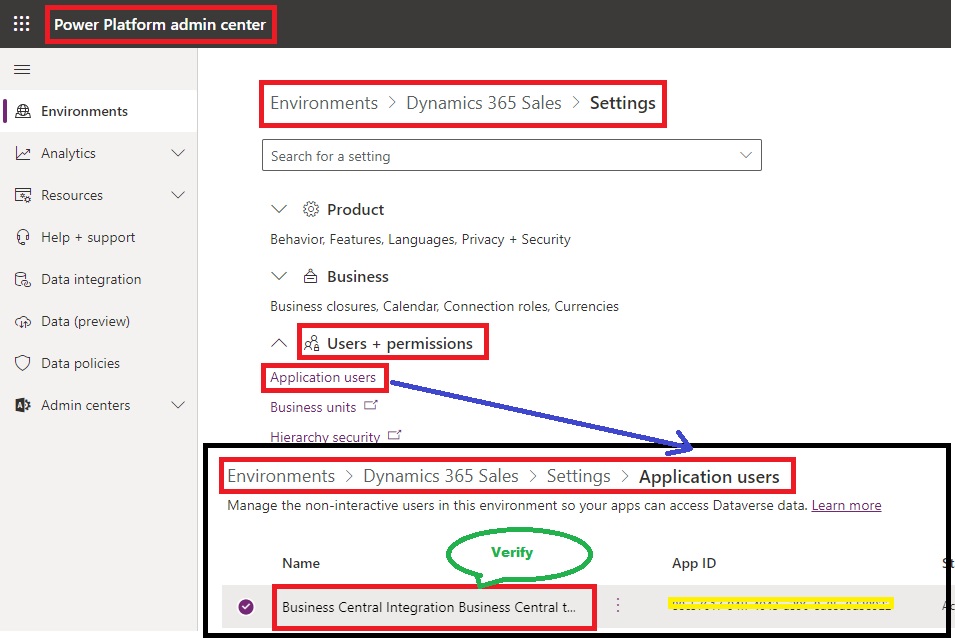
Under Users + permissions -> Application users.

On next screen Verify “Business Central Integration Business Central to Common Data Service” is selected. If not then select it from “Edit Security Roles”.

From Settings -> Users + permissions -> Security roles

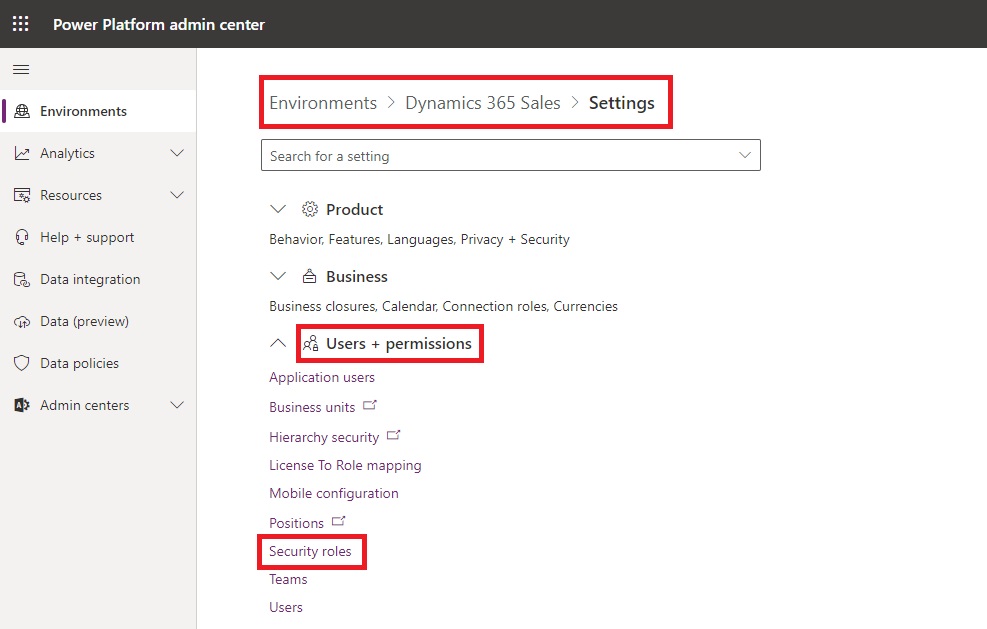
From Security roles select the Business Central Dataverse Integration Then Edit

Select Custom Entities tab and find your table Prospects. Select each circle 4 times to assign Organization, circle should turn completely filled green color.

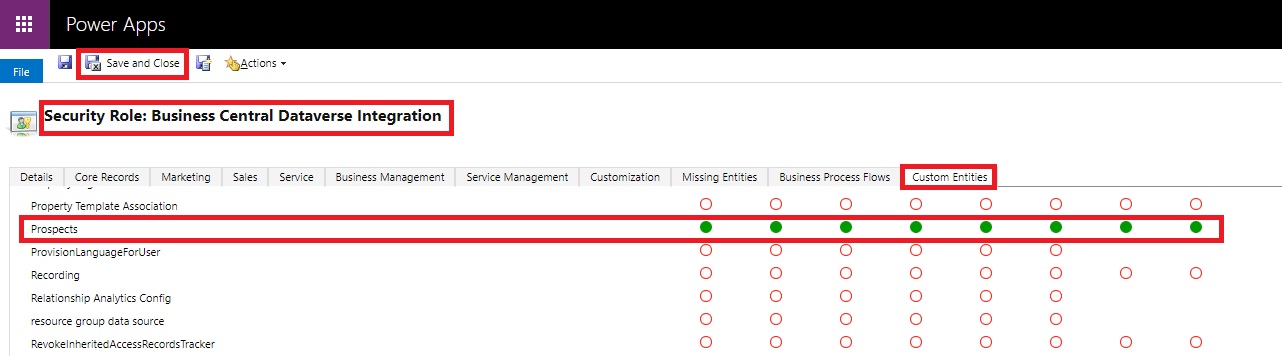
Select Save and Close.

Now you All done with the steps, Ready to test the solution.

In next post we will test the solution, we created in past 10 posts.

Now you are good to proceed with Next Step.

You can jump to Next Step from here.

Advertisement
AL Table Proxy Generator Tool, Assisted Setup, Business Central, CDS, Common Data Services, Coupling, Custom Tables, Dataverse, Deploy, Dynamics 365 Sales, Integration, Mappings, Package, Permissions, Power Apps, Scheduling, Synchronize, Testing

Integration in Business Central with Dataverse/ Common Data Services/ Dynamics 365 Sales/ Power Apps

In this post I will discuss about how we can Synchronize data to Custom Tables using Dataverse.

This post is divided in series of small posts, one post for each involved step.

You follow each post link in sequence and at end we will achieve the final Goal set in starting of this post. 

This post will walkthrough setting up an integration between a Custom table Prospects in Business Central and a Custom table Prospects in Microsoft Dataverse.

One thing important keep in mind while doing all the steps we need to use the Admin login you used to setup these environments.

Also, the Base Currency of Business Central & Dataverse Environment should be same else you will run into issue.

If the currencies of Business Central and Dataverse do not match, similar message will be displayed.

LCY Code XXX does not match ISO Currency Code XXX of the Dataverse base currency.

The Base Currency defined for Dataverse after setup is not possible to change however you can match it in Business Central by changing LCY Code in General Ledger Setup.

Let’s start with introduction to environment we are going to use, throughout the process and steps described below.

Introduction to Environment:

Before we start with the Steps Involved, let me introduce with the environment which I am going to use in this walkthrough. 

Business Central Environment:

Dynamics 365 Sale Environment:

Setup required to Connect with external system:

You can find below options in Business Central Assisted Setup.

The following are the Steps we will follow:

Follow each step above in same sequence.

For more detailed insight refer to below Microsoft Documents:

Customizing an Integration with Microsoft Dataverse

AL Table Proxy Generator

Scheduling a Synchronization between Business Central and Dataverse

Hope you enjoyed the learning by example. Wait for next post, will be back soon.

See you in next post soon with similar kind of stuffs.

Till then keep Exploring, learning and sharing with others.