
Today I got chance to get Installed & Configured Madeira Demo.
The first thing that you need to ensure is you have Microsoft Partner Network, you can take help of Admin in your organization to get this done in case yet you don’t have.
Once you have sign in information ready visit the page : https://demos.microsoft.com/login#/
You will be taken to the landing page as in below screen.
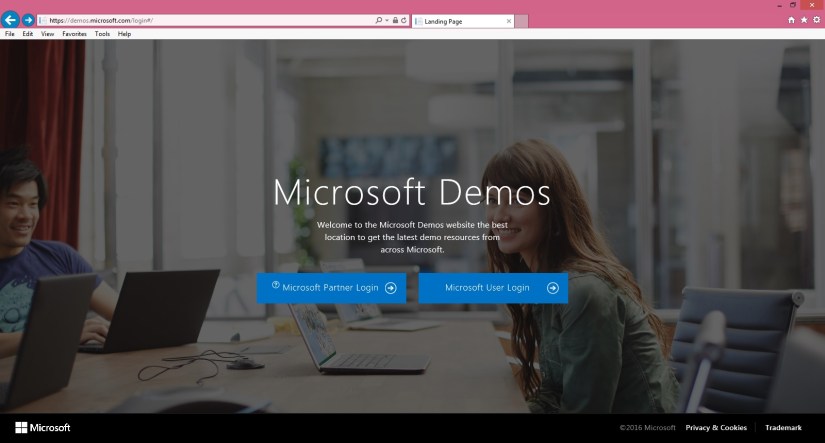
Select Microsoft Partner Login and sign in using your Live ID and password credentials
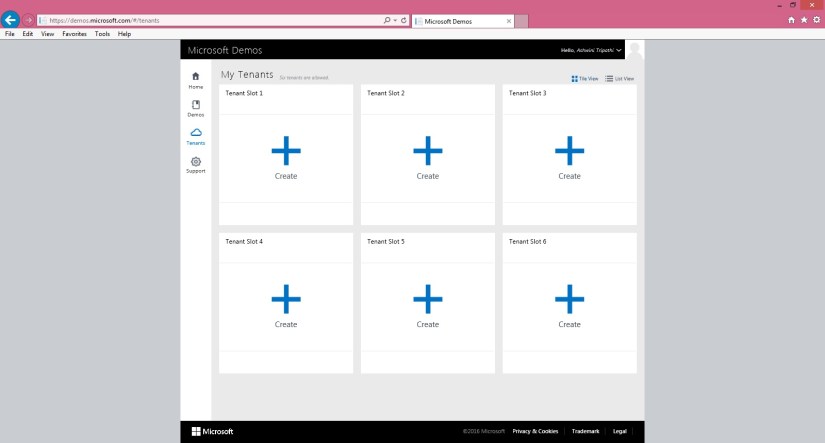
From Navigation bar left on Screen choose Tenant. You have option to add up to 6 Maximum tenants. From right screen click on blue ‘ + ‘ written Create.

From Create a New Tenant choose ‘Quick Tenant’.

In Select Tenant Type choose first ‘Select Office 365 Demo Content’ and choose Next.

From Add Ons select ‘Add Project Online demo data’ and choose Next.

From Create Quick Tenant choose Finish to continue.

On completion your Tenant will be shown.
Note the Tenant Id, User Id & Password this will be required in following steps.

From Microsoft Demo Screen from left Navigation bar choose Demos.
From ‘My Demos’ click button Create New Demo.

Give meaningful Name to you Demo
Select the Tenant Id.
Select the Templates you want to Add to your Demo.
Click on ‘Create Demo’ Button.

If you have select more than one Templates you may get screen to confirm Merge Order in your Demo.
Click on ‘Update Demo’ Button once you are done setting the Order.
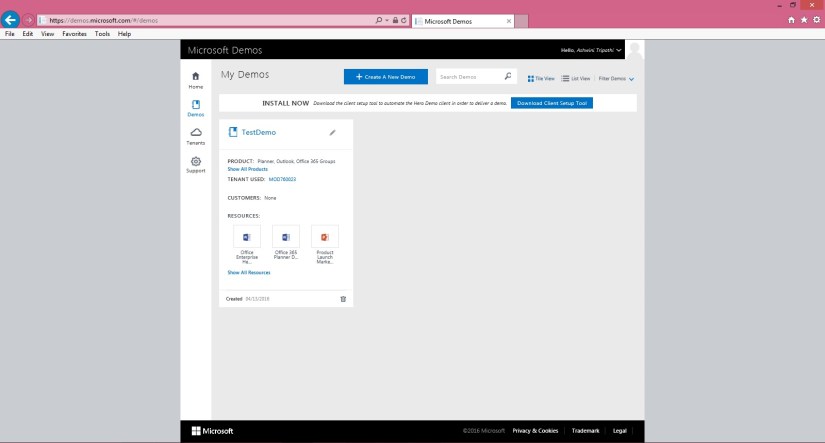
Your Demo is Created in my case I have name it TestDemo.
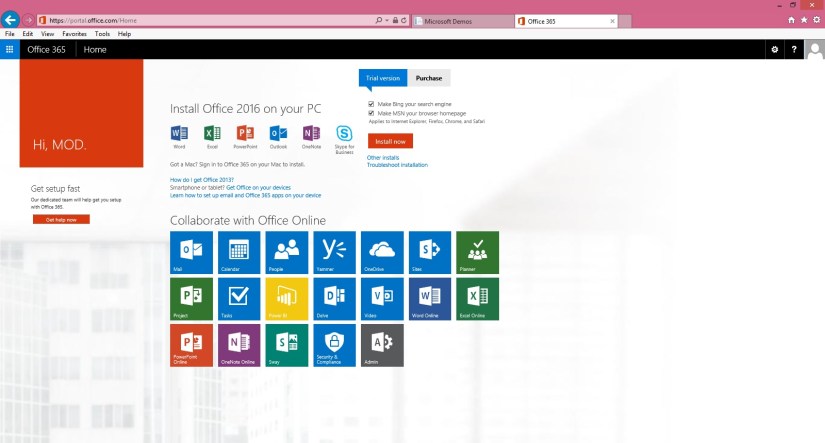
Open the Office 365 Portal using Link : http://portal.office.com

Login with the credentials we noted in above step while creating the Tenant.
Open Madeira Website https://madeira.microsoft.com/en-us/

Choose Try the Preview.

Sign up using the User Id we obtained in above step.

Choose Start to continue.

Now you will get Project Madeira Icon along with other Office Icons.

Choose Get Started Button on Welcome Screen to continue.

If you wish can See the Tour or can skip at this point and can review Later. To continue select Next.
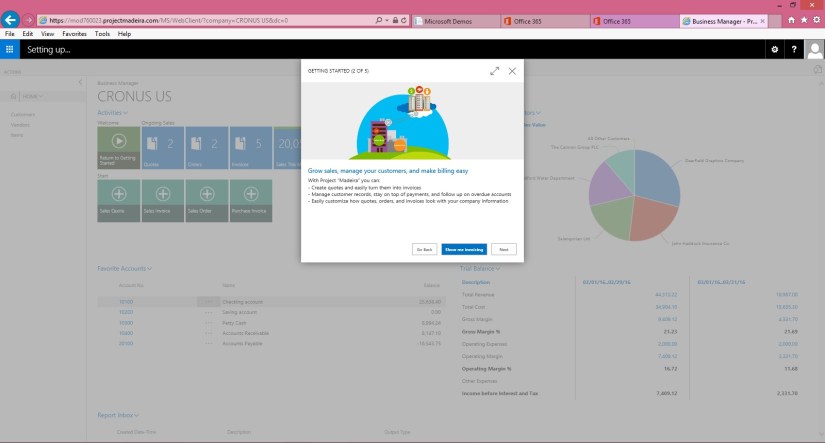
If you wish can See the Tour or can skip at this point and can review Later. To continue select Next.

If you wish can See the Tour or can skip at this point and can review Later. To continue select Next.

If you wish can See the Tour or can skip at this point and can review Later. To continue select Setup In Outlook.

Provide User Id & Password we obtained in above step.
Select OK to continue.

On confirmation window say OK.

Select Next to continue to next step.

Note the Activation Code provided on this screen you will require to activate Office.
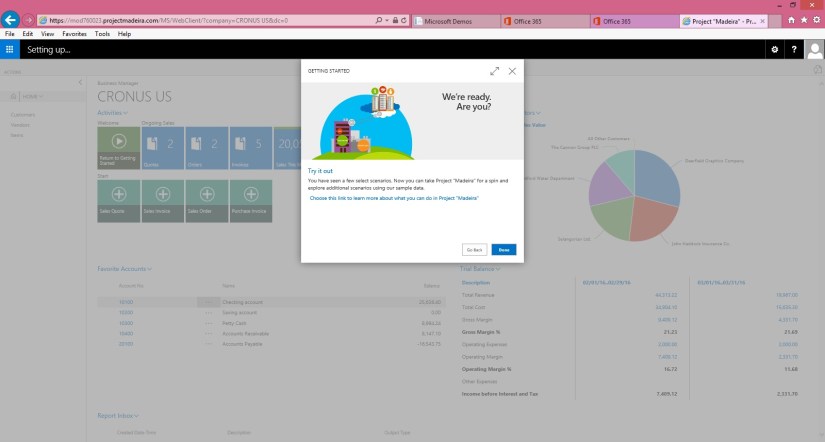
We are Done. Choose Done to close the Welcome Wizard.
You will be landed to your Home Page of Madeira.

You are done now look around the new Look and feel of this product.
During this process you will receive several Mail Notification you can check same using Notification or open your Outlook account from the office 365 screen.
I will come up with more in my next post till then explore and keep learning.


You must be logged in to post a comment.